
So I was all pumped up last week about detox soup and blending six different types of greens with lemon and calling it a smoothie, and then… and THEN… it hit me. Cookie cravings. Oh man, did it ever hit me. I had visions of peanut butter chocolate chip cookies dancing all over my head until I finally succumbed to the cookie monster within and just baked some already! By some, I mean at least three different batches. At least they were (somewhat) healthy. It gave me a good chance to try out some ideas I’ve had for recipes, anyway. All in the name of recipe testing, I tell ya.
Speaking in terms of food seasons, (which I do, of course) after pumpkin season comes cookie season! Or at least it does in my book. The last couple of years, I’ve baked up all sorts of cookies and treats to give to family and friends for holiday gifts. Plenty of sampling goes along with all this baking of course. What better way to accompany those warm and gooey cookies, than a tall glass of cold and creamy milk. Make that a cold, creamy, dreamy, dairy-free, and chock-full-of-healthy-stuff milk. This is definitely the milk Santa is requesting with his cookies this year.
Buying dairy-free milk alternatives at your supermarket is a cinch these days, with more varieties popping up every time you turn around and look in the dairy case (or at the shelf-stable tetra paks). You may or may not realize that blending your own nut and seed milk is a cinch too. Making homemade dairy-free milk is as easy as 1-2-3. Or Soak, Blend, Strain. You don’t need a high-powered blender to do the job either. A regular blender does just fine, especially since your nuts or seeds are softer from soaking. In fact, I started making almond milk a few years ago, long before I got my trusty Vitamix. While there are many people who swear by nut/seed milk straining bags, I have yet to purchase one (maybe Santa will bring me one of those this year 🙂 and I get by just fine with a fine-mesh strainer. Even if you don’t have a fine sieve, you can still strain your own nut and seed milk with a clean tea towel, cheesecloth, or I’ve even seen tutorials online where the instructor uses a new pair of pantyhose to strain the milk. (See how I’m making this so easy for you here, no excuses not to try it now!)
1. Soak

2. Blend

3. Strain
I was inspired to create this recipe while perusing some of the tasty-sounding store-bought alternative milk blends. One that really caught my eye: Dreamblends Almond, Cashew, and Hazelnut Drink. Lucky for me I had just bought some raw hazelnuts at the health food store, and I had a few cashews and almonds on hand. Let me tell you, it is a fabulous combination; Dreamblends was on to something. The fun part about creating your own nut/seed milk is that you can try out any combination of nuts or seeds, in the amounts that you wish, adding as much or as little sweetener as you’d like. There are all sorts of reasons folks decide to try dairy-free alternative “milk.” There’s animal and environmental concerns, health reasons, and for those with allergies or sensitivities switching from dairy milk to nut or seed milk is a necessity. Giving up dairy milk (and dairy products) was a very personal decision for me. Animal welfare was the main reason for me. It was something I wanted to do for years, ever since watching documentaries like Food Inc., Forks Over Knives, and reading books like the Kind Diet and China Study. It was difficult for me, I loved cheese and yogurt, and I grew up drinking a lot of milk. It was one of my favorite beverages as a kid! Despite switching to almond milk six years ago or so and reducing the dairy products I consumed, I couldn’t quite give up the cheese. It wasn’t until after my daughter was born that something clicked for me. Decisions about what foods we eat are so individual, and are influenced by our upbringing, beliefs, lifestyle, and where we are in life’s journey. Long story short, you don’t have to be dairy-free, vegan, or allergic/sensitive to dairy to enjoy nut and seed milk. These milk alternatives provide a nice variety in any diet, and offer plenty of health benefits too!
Besides having the benefit of being cholesterol-free and free of saturated fat, nut and seed milk can be a valuable source of vitamins, minerals, antioxidants, and essential fatty acids. The specific nutrient content of your milk will of course depend on the nuts or seeds you use. Each variety has their own benefits, which is why I like to mix a few different nuts and seeds for the biggest nutritional boost. Cashews are a great source of copper, magnesium, and zinc. Almonds are rich in monounsaturated fats, vitamin E, biotin, and several other vitamins and minerals. Hazelnuts are another nut high in vitamin E, monounsaturated fat, antioxidants, and magnesium. Combine these nuts, and you have all the ingredients for healthy and beautiful skin and hair, better mood, less anxiety, and more energy. You’ll also be giving your body what it needs to support a healthy cardiovascular system and strong bones, while reducing inflammation in the body. (For more information on the nutrient content of specific nuts and seeds check out this chart or this one.)

Ready? Let’s Get Started!
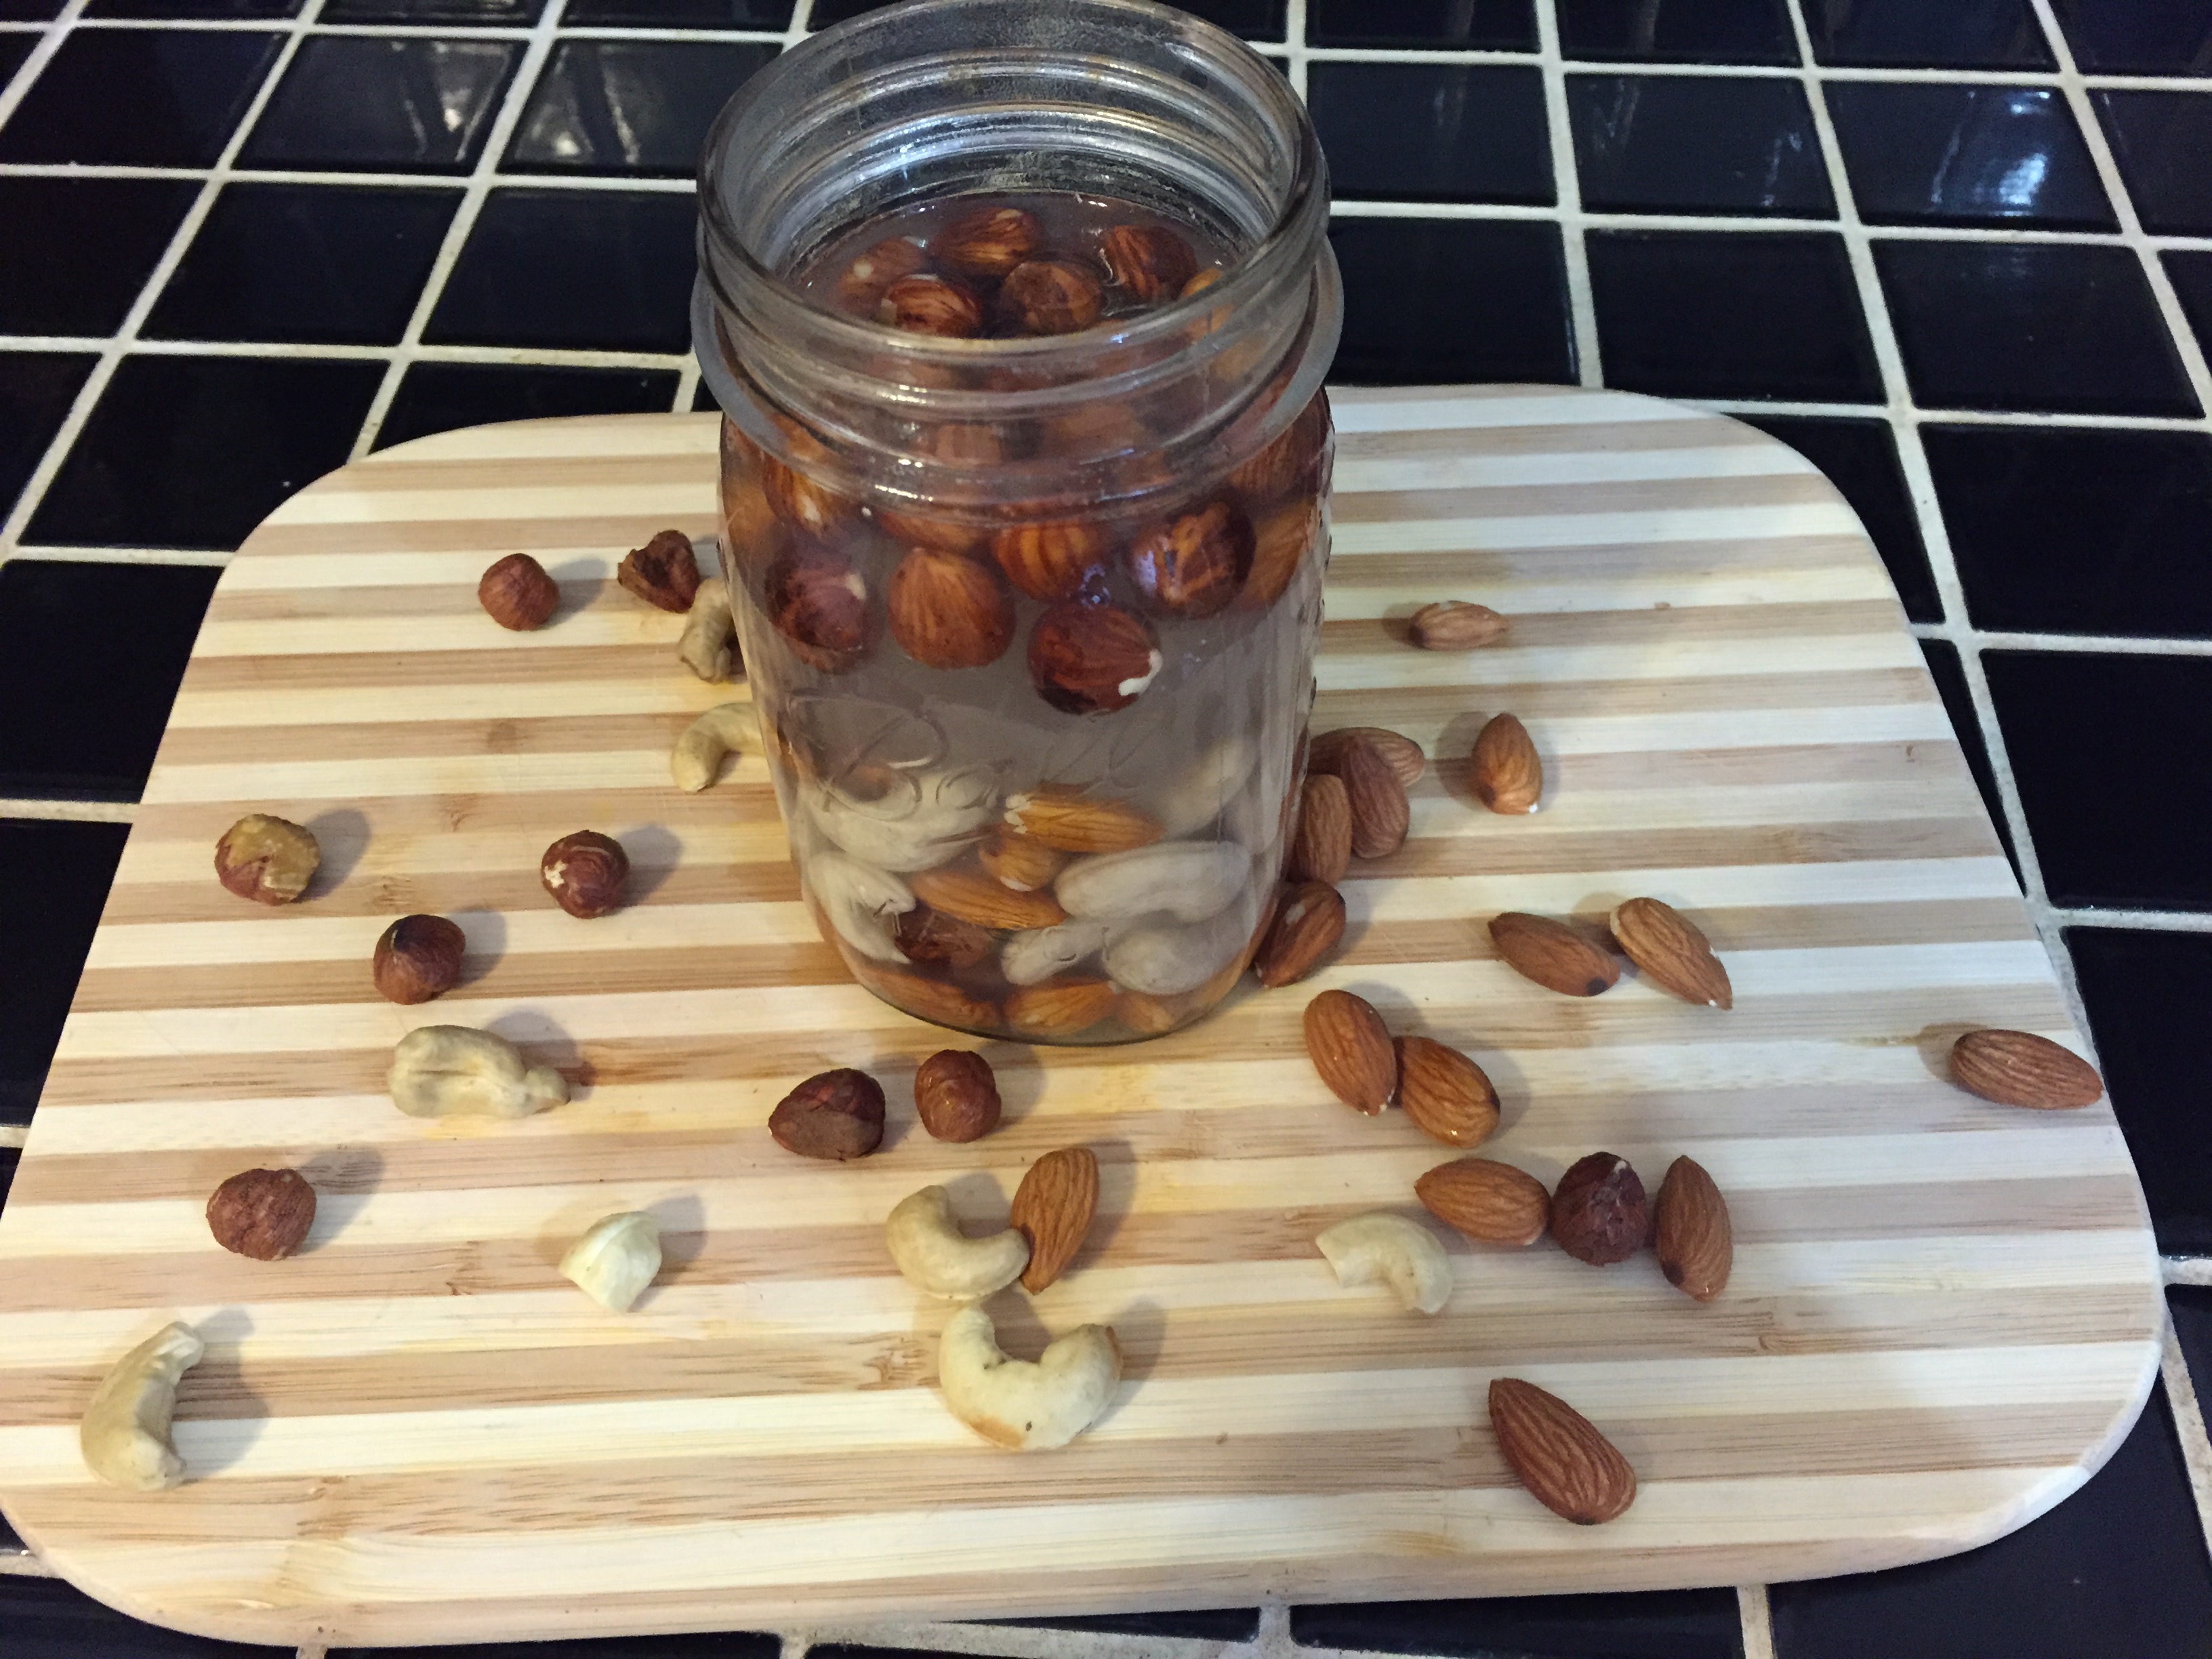
To make your very own nut/seed milk blend, simply start by soaking your nuts or seeds. Add nuts or seeds to a large jar and cover with filtered water. Sometimes I also throw in a pinch of salt. Soaking is an important step, not just for the ease of blending, but also for increasing digestibility and bioavailability of nutrients. Soaking time depends on the nut or seed, but 8 hours or overnight is the easiest guideline.
The amount of nuts you use will depend on how much milk you’d like to make. Keep in mind that nut and seed milk should be stored in the refrigerator, and for no more than 3-4 days. I try not to make more than I know I will drink in a few days, and if I do, I will freeze it in ice-cube trays to use in smoothies. I typically use a ratio of 4 cups of filtered water to 1 cup of nuts or seeds. If you desire a creamier, richer milk, just decrease the amount of water you use (or increase the amount of nuts or seeds). For example, you could use 2 cups of soaked almonds and 4 cups of water for a delightfully creamy milk. If you want to stretch your dollar, you can also increase the amount of water or decrease the amount of nuts or seeds (for example, you could use 1/2 cup soaked nuts per 4 cups of water). The result will be a thinner milk, but you’ll be getting more bang for your buck. Add-ins are optional. I sometimes keep the milk unsweetened and plain if I’ll be using it in recipes. For drinking straight, or in smoothies, a touch of vanilla and a date for subtle sweetness is nice.
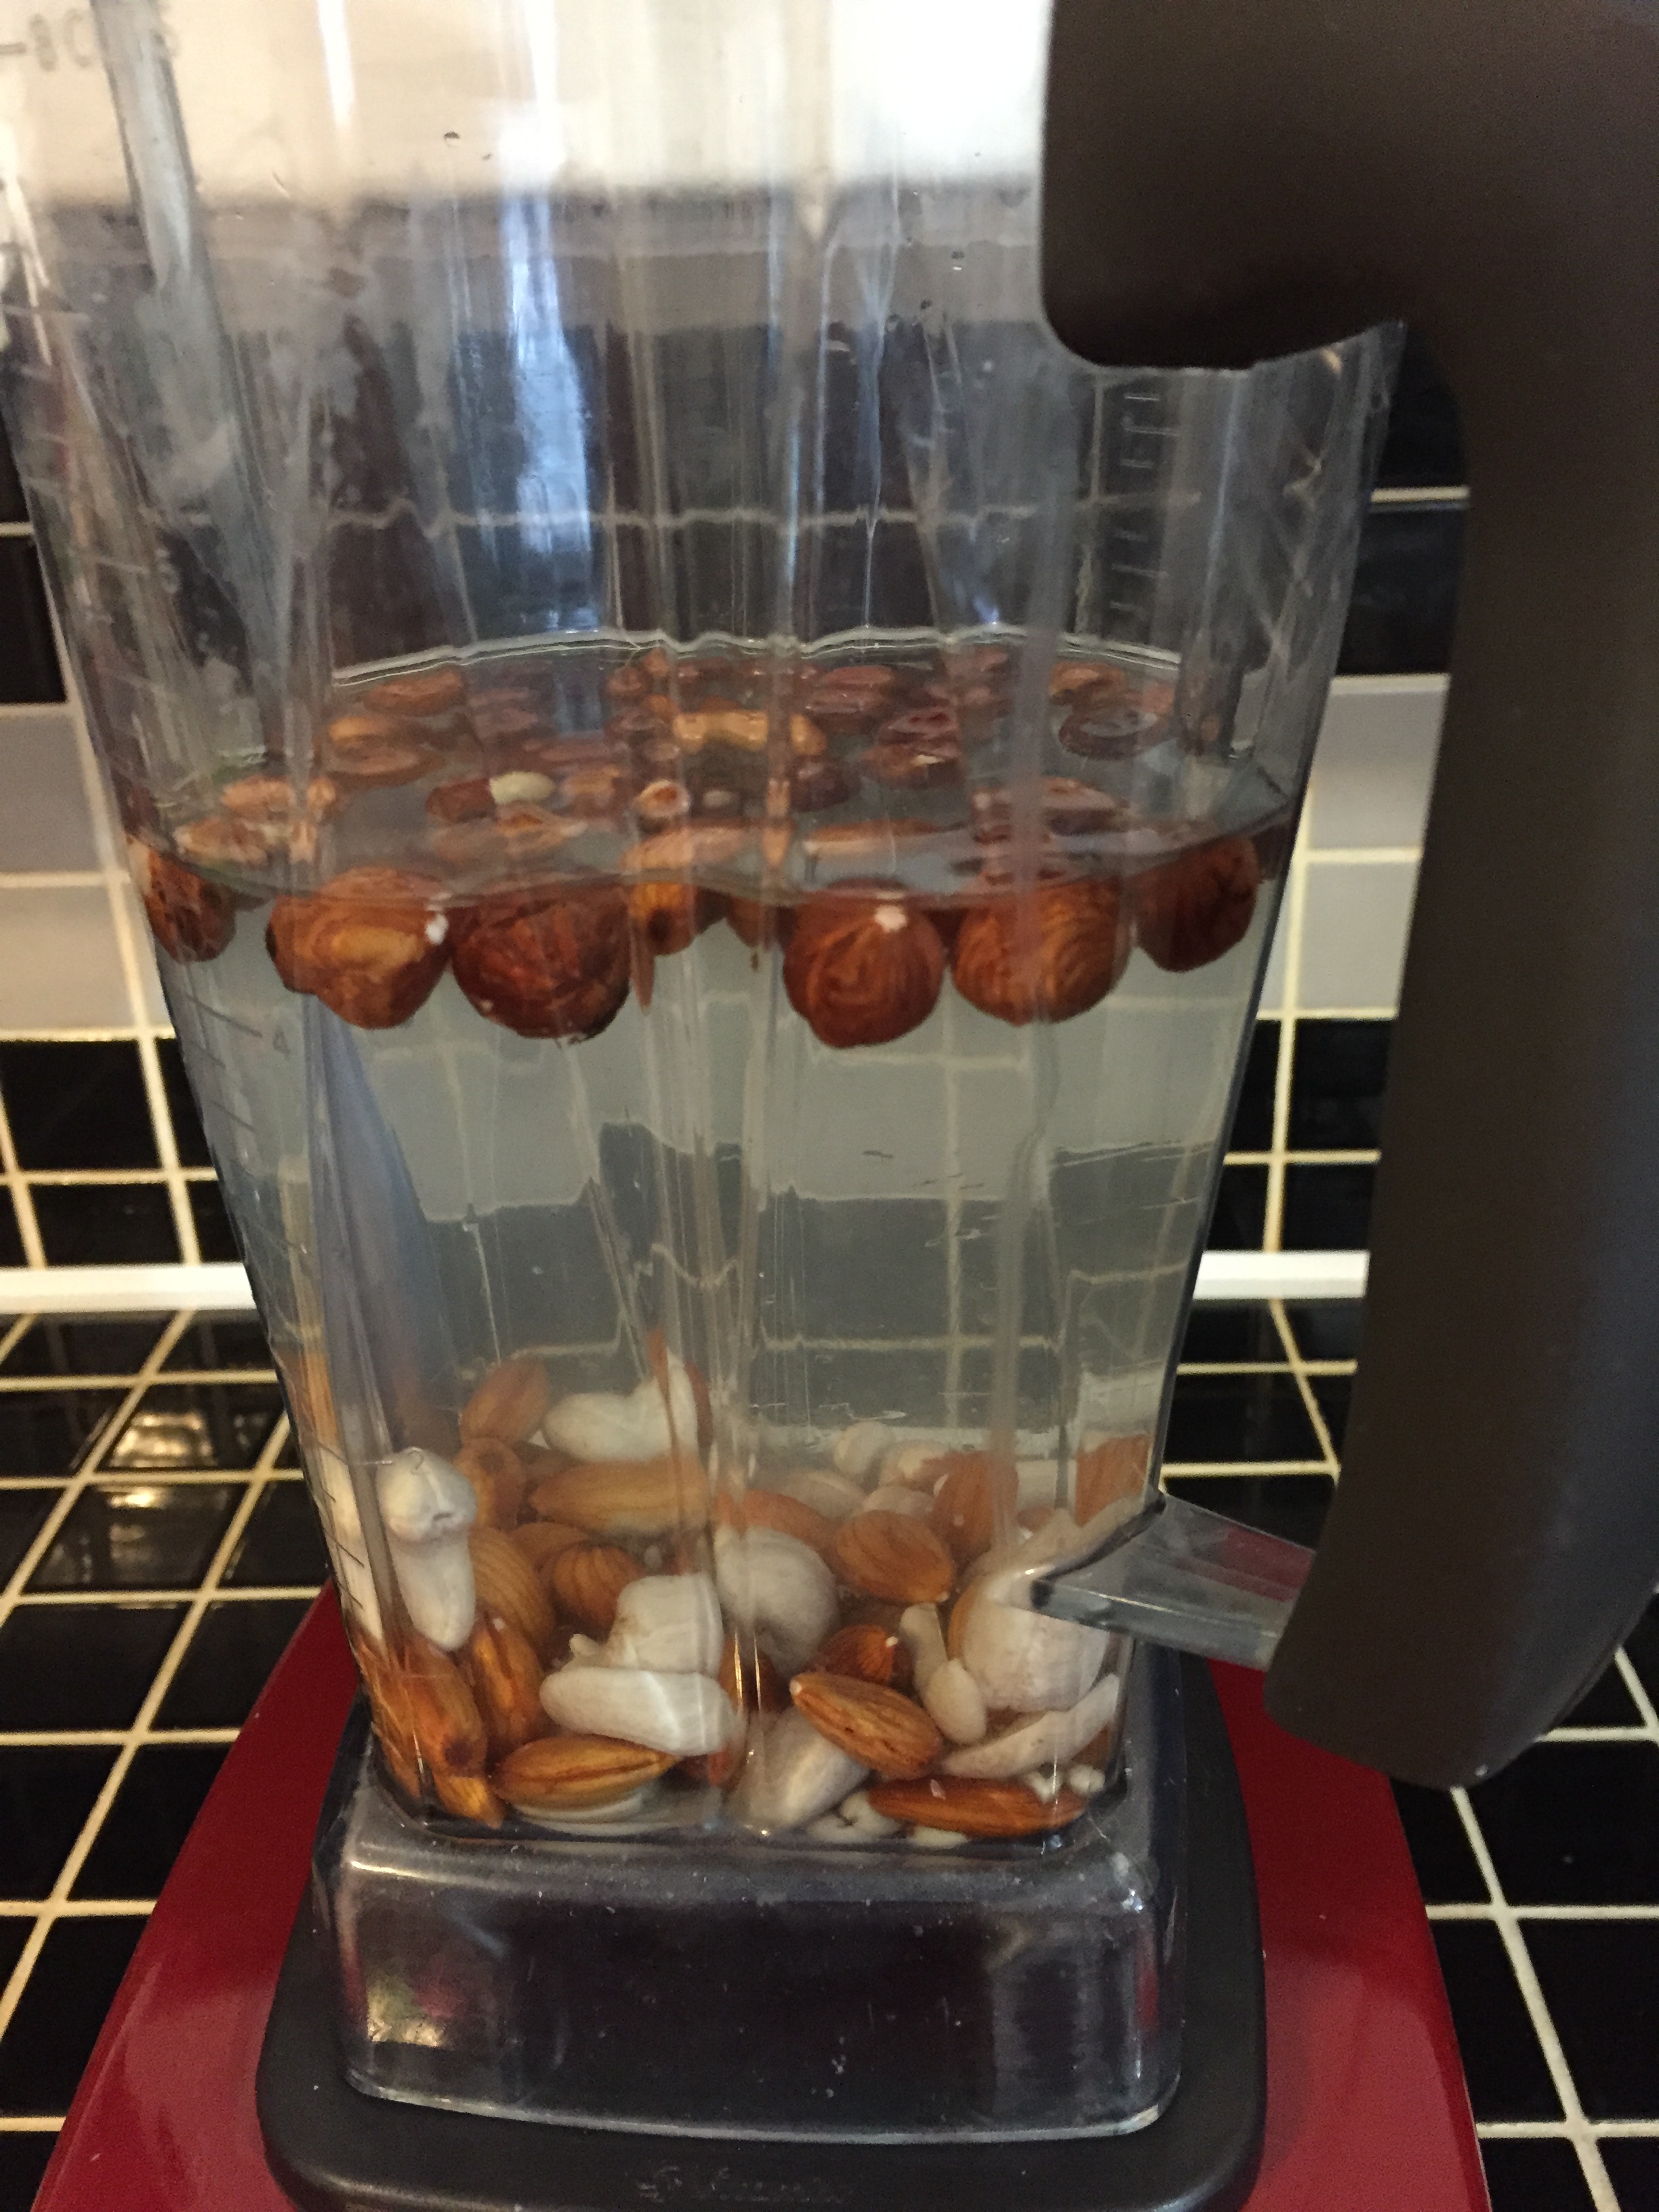


Then, you’ll blend the nuts or seeds and add-ins on high for about a minute or two. Using your preferred straining technique, strain the pulp from the milk into a clean jar with a tight-fitting lid. A funnel is really helpful to have, but you can also strain the milk into a bowl. If you’re using a nut milk bag, cheesecloth, or tea towel you will have to squeeze, squeeze, squeeze the pulp. I sometimes strain the milk a couple of times if I want a really smooth texture (which is totally unnecessary with a nut/seed milk bag). Some nuts do not really require straining, like cashews. Sometimes I may choose not to strain the milk if I know I’m going to use it in a smoothie or oatmeal, in which case the pulp wouldn’t bother me. Skipping the straining allows you to obtain even more of the nutrients as well as fiber.

One final note, save that pulp! There are all kinds of things you can do with the nut or seed pulp. You can use it to make crackers, add it into recipes, or even use it for a facial scrub. My favorite ways to use almond pulp is to make this amazing pumpkin porridge from Choosing Raw or this highly addictive raw fudge from the Rawtarian.
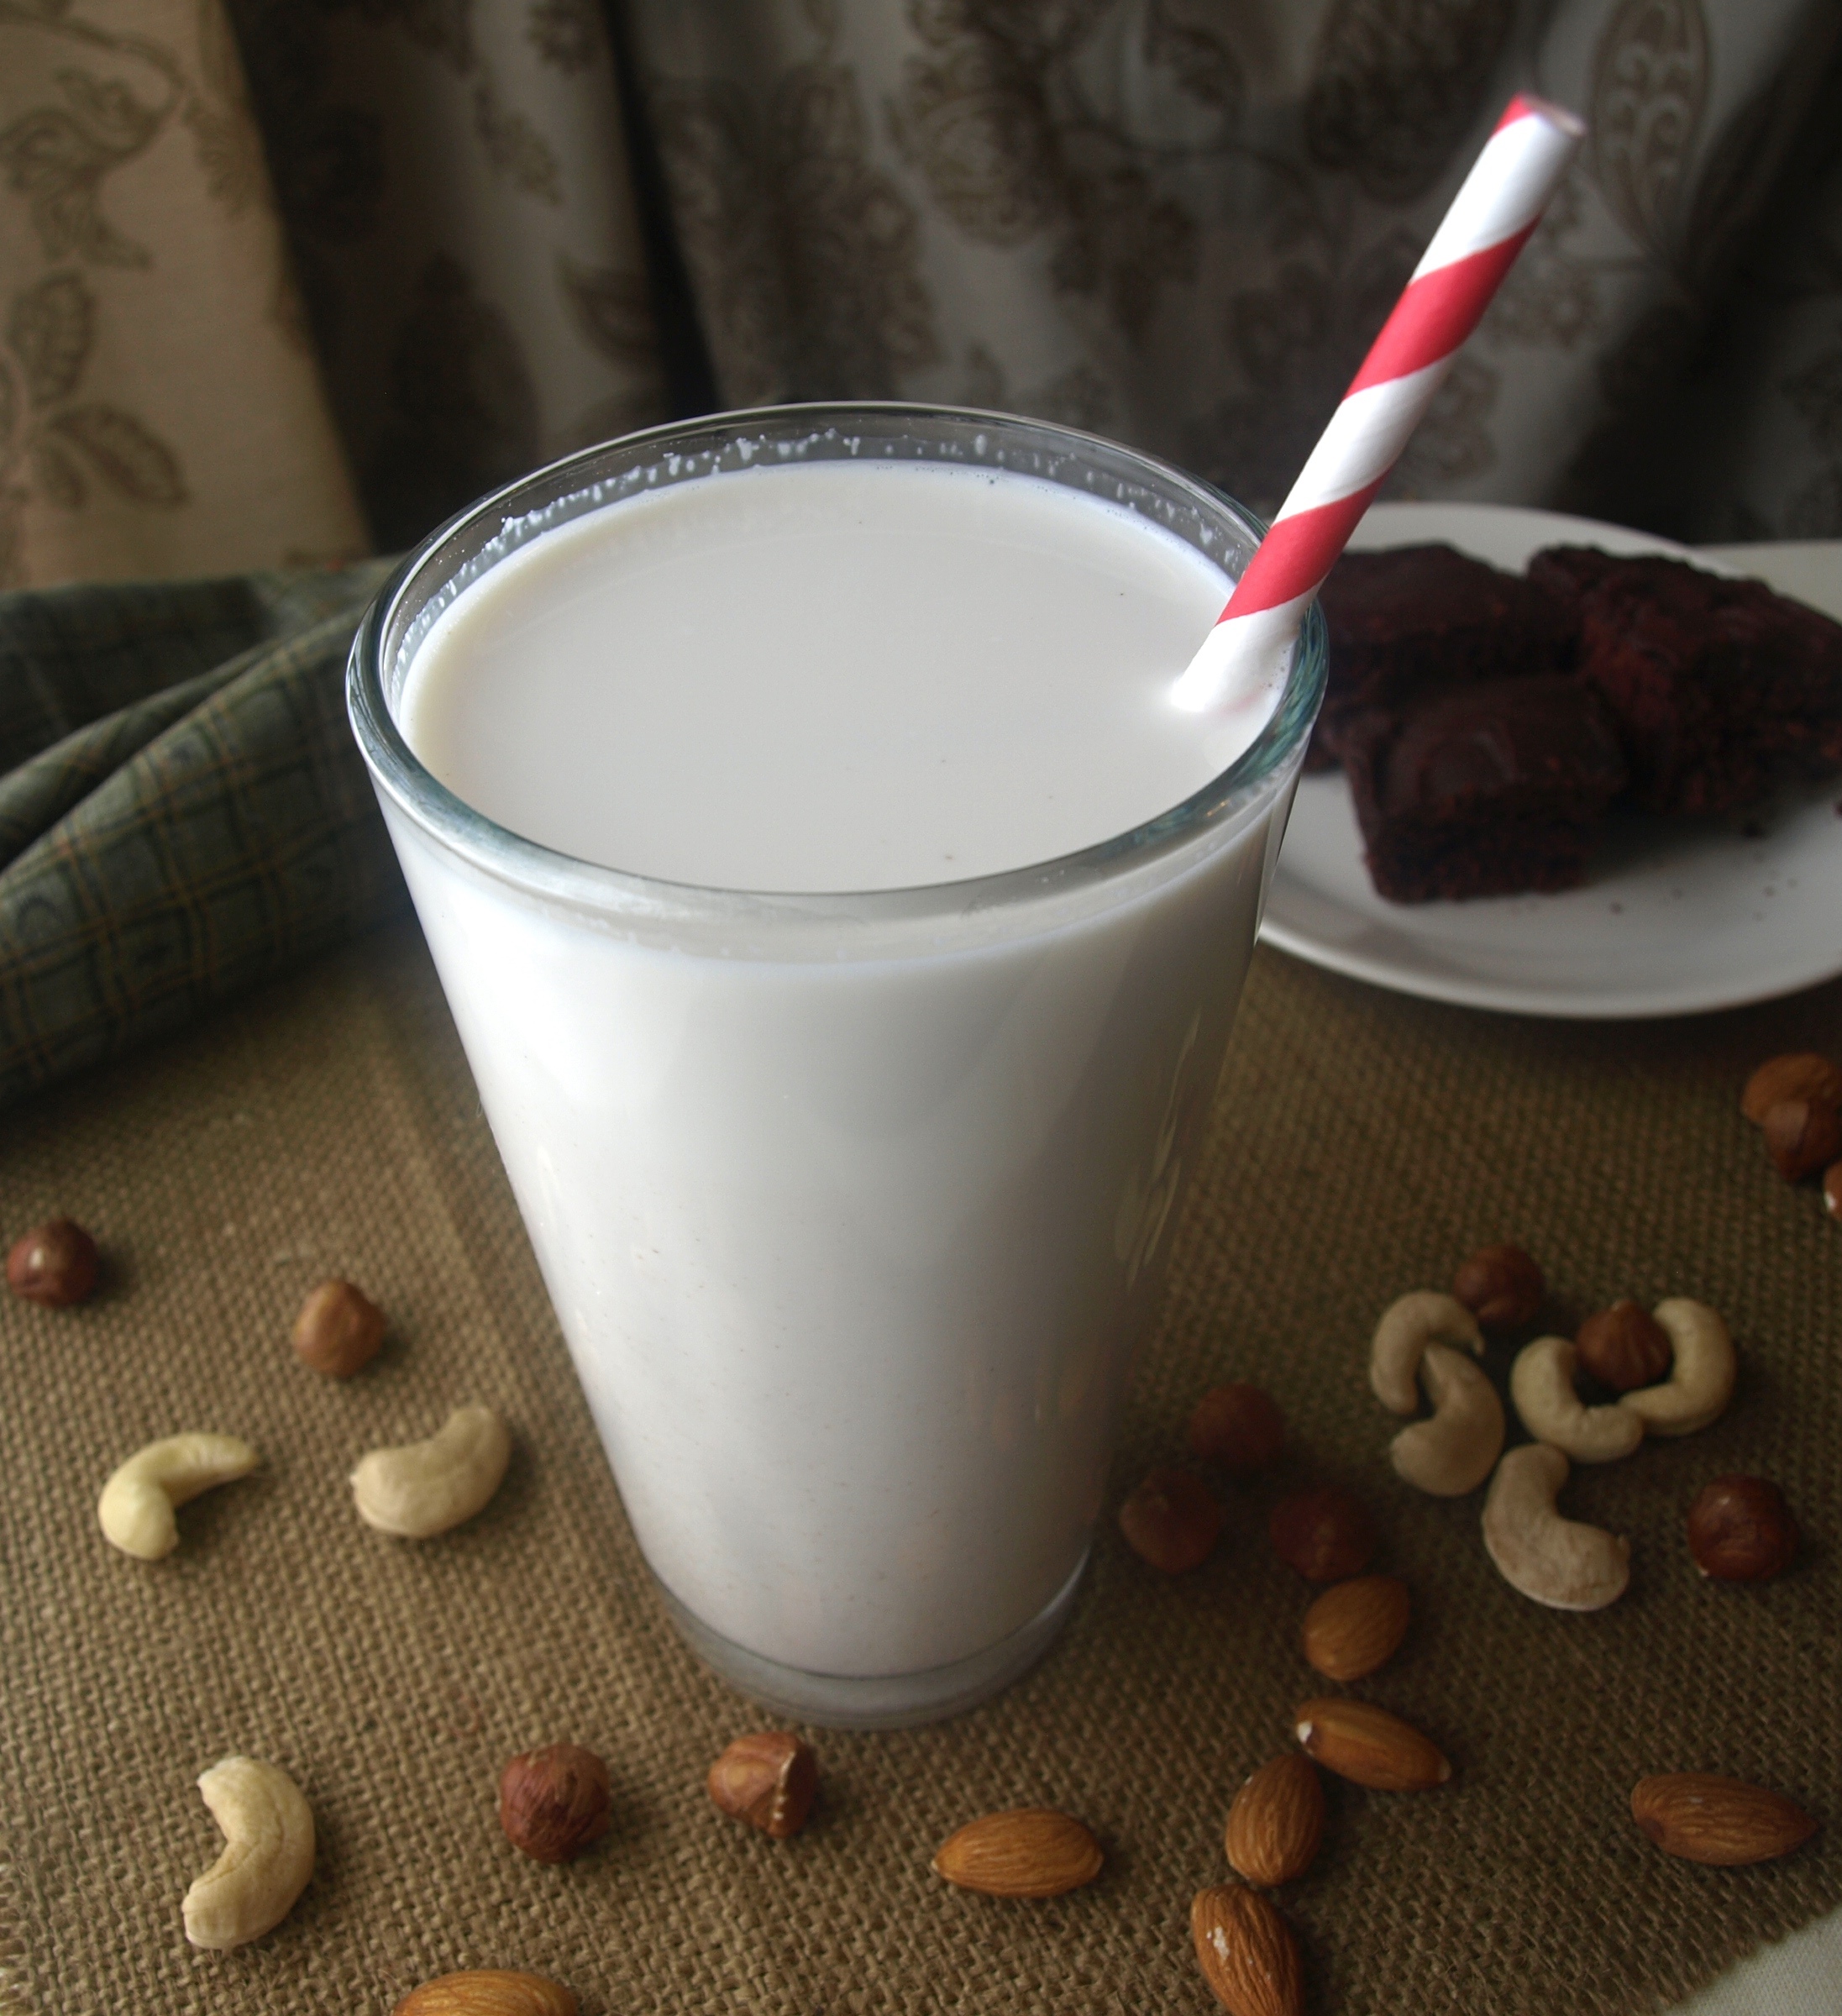
Creamy, Dreamy, and Delicious (and adaptable) Cashew-Almond-Hazelnut Milk
Ingredients
- 1/3 cup raw cashews
- 1/3 cup raw almonds
- 1/3 cup raw hazelnuts
- 4 cups (or less depending on desired richness) of filtered water for blending
- pinch of salt
- optional medjool date (or maple syrup or raw honey to taste)
- optional 1/4 tsp vanilla extract (you can also try cinnamon or other spices)
Instructions
1. The night before making the milk, soak the cashews, almond, and hazelnuts in enough filtered water to cover the nuts by a few inches (they will expand as they soak up the water).
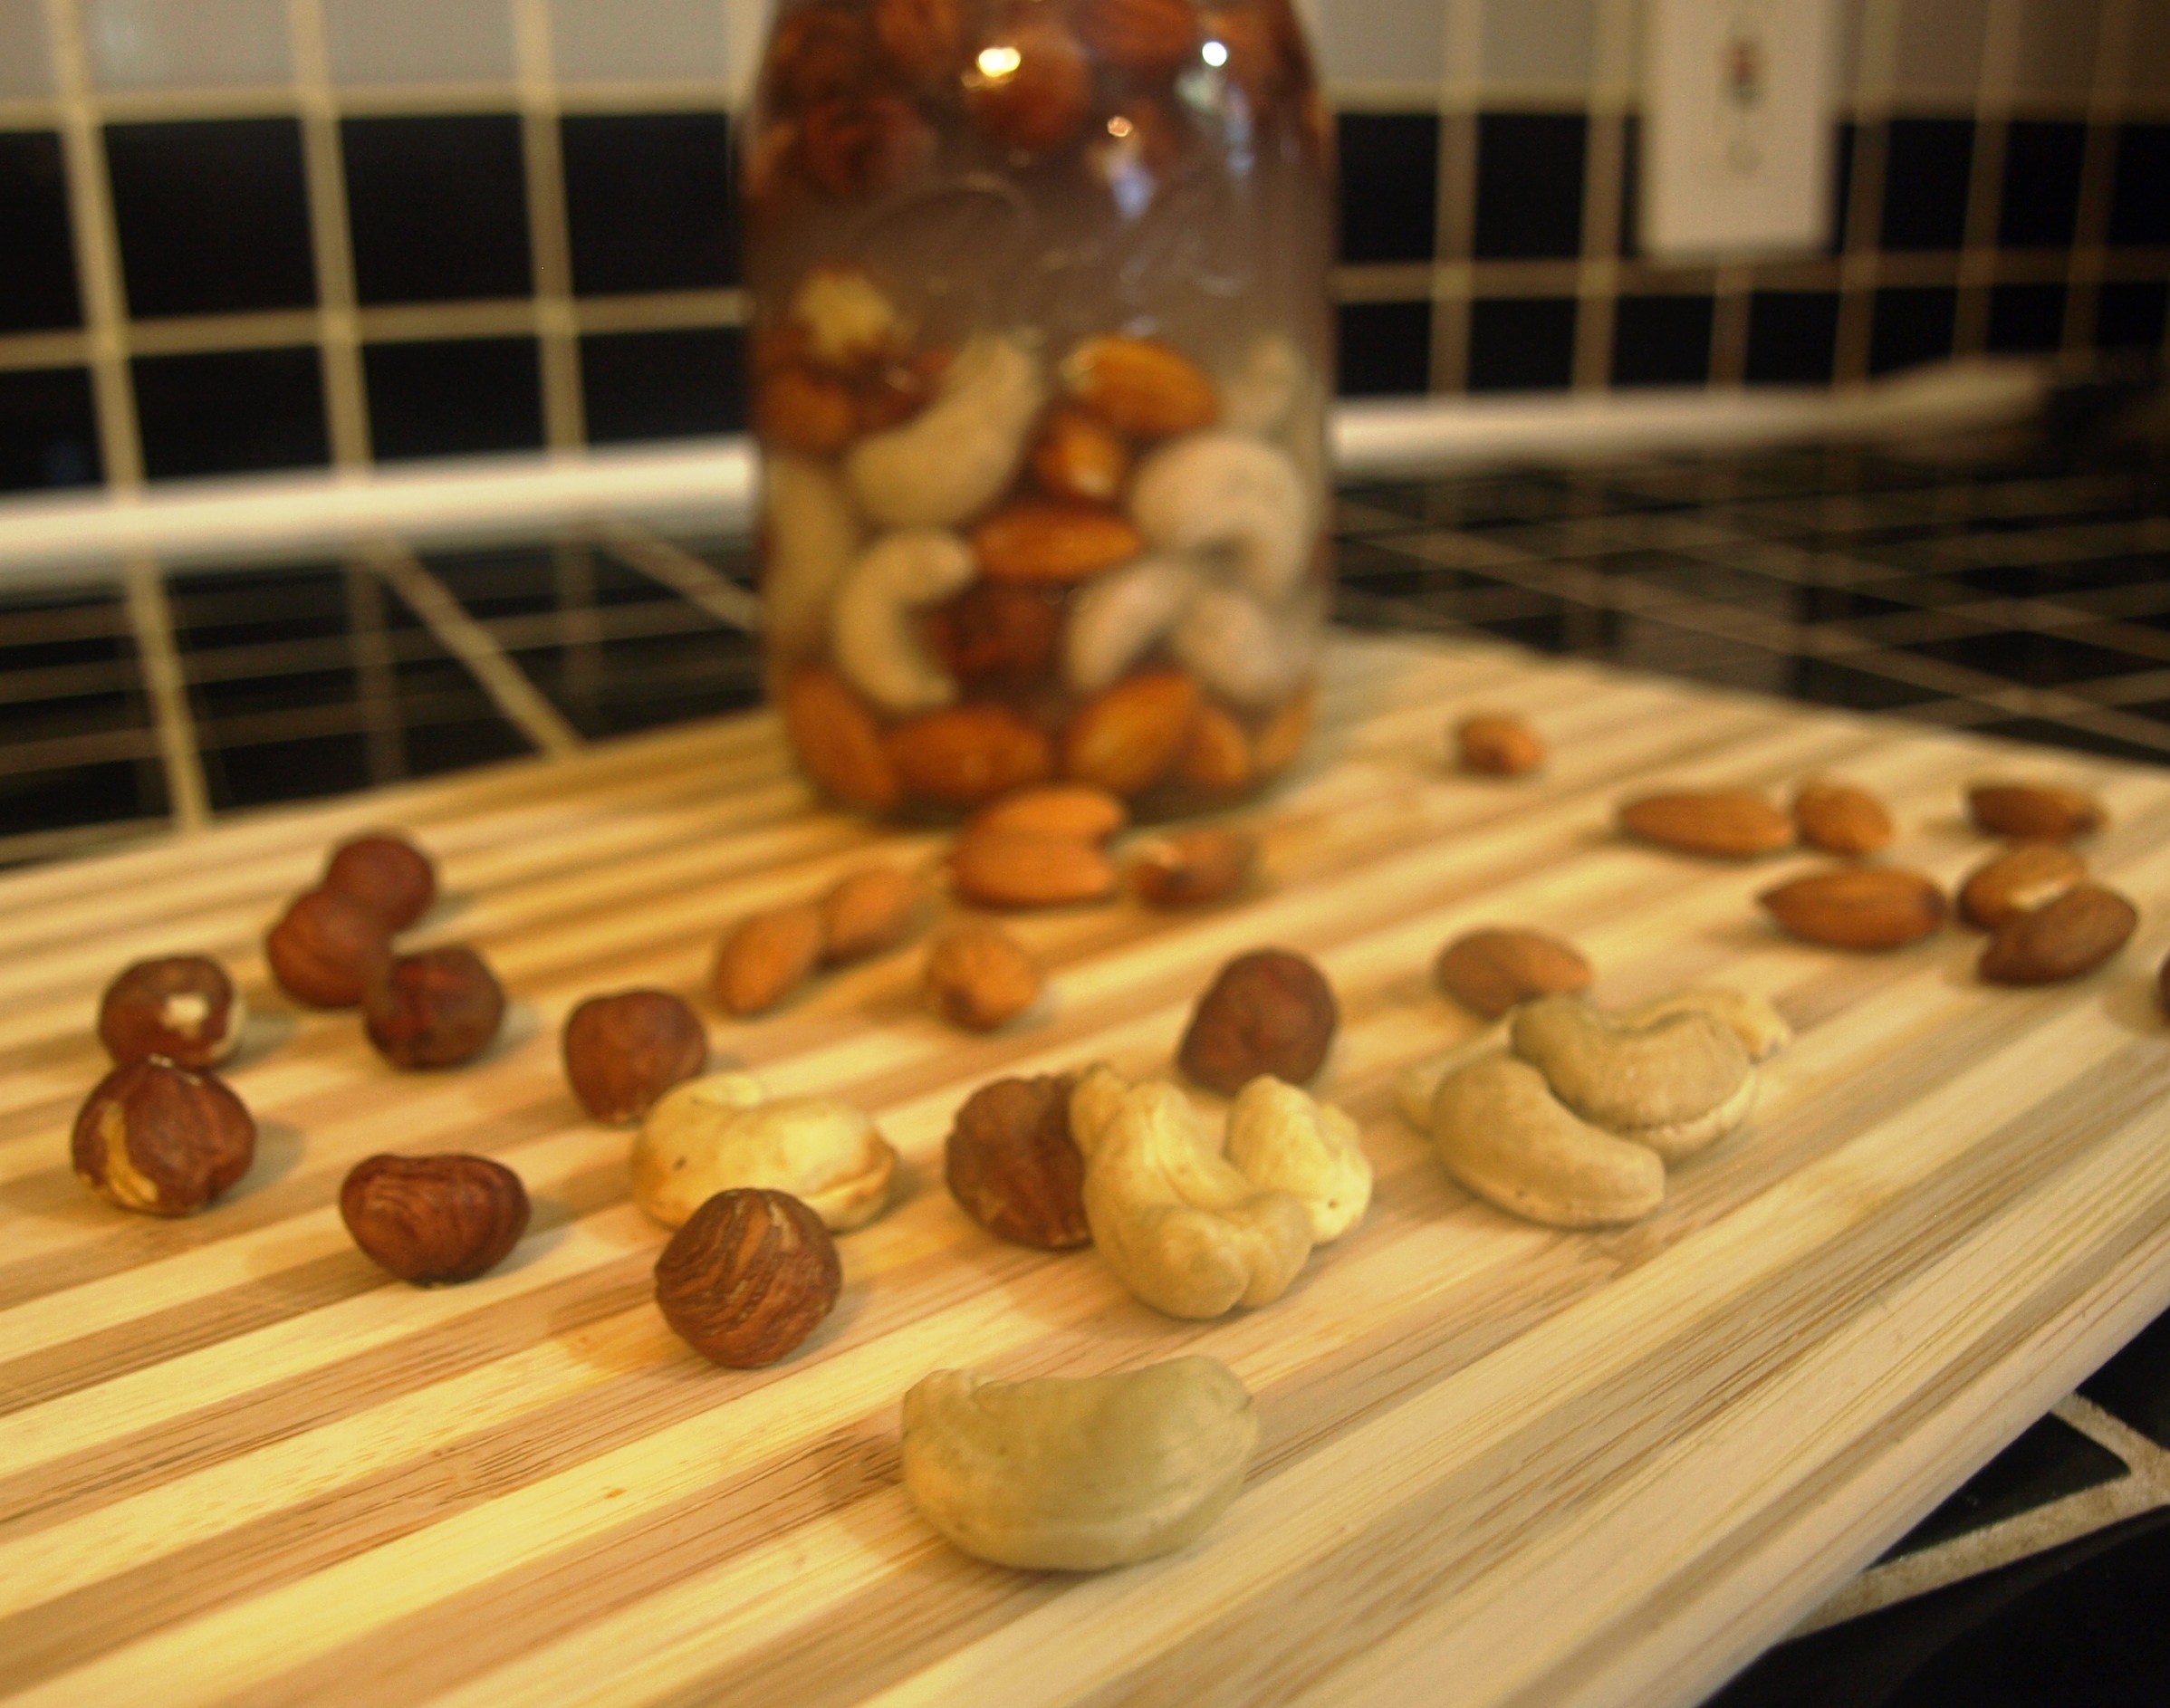
2. In the morning, drain the nuts in a strainer and rinse very well. Add them to the blender along with 4 cups of filtered water (or more or less, depending on how creamy or thin you’d like the final milk to be) with a pinch of salt and the optional date and vanilla extract.
3. Blend everything on high for a minute or two. Strain out the pulp using a fine mesh sieve and pressing down with a large wooden spoon (you’ll have to do a small amount at a time, scraping the pulp into a container), or by using a cheesecloth, tea towel, or nut/seed milk bag. Save the pulp for other recipes.
4. Store in an air-tight container (I use a mason jar with a lid) and keep in the refrigerator for a 3-4 days.
P.S. Have fun with this and get creative! Consider adding other ingredients besides nuts/seeds/sweetener/vanilla. Like how about vegetables? Two ideas I’ve tried and loved: “Green Milk” from The pH Miracle, and Carrot Pecan milk from Deliciously Holistic. So yummy and healthy!
Do you make your own homemade nut and/or seed milk?

I love those straws!!! 🙂
LikeLiked by 1 person
Thanks! I believe I got them at Target in one of the dollar bins! 🙂
LikeLike
This is the first time I visited your website and it seems fabulous! I have not tried any of your recipes yet, but I will very soon. They look totally awesome and I love your detailed explanation of ingredients and the extra tips that you offer!
LikeLike
Aw thank you so much for the kind comment, Kathy! I’m so glad you like it and enjoyed checking out the recipes, that makes my day! Be sure to come back and let me know if you try anything 🙂
LikeLike