
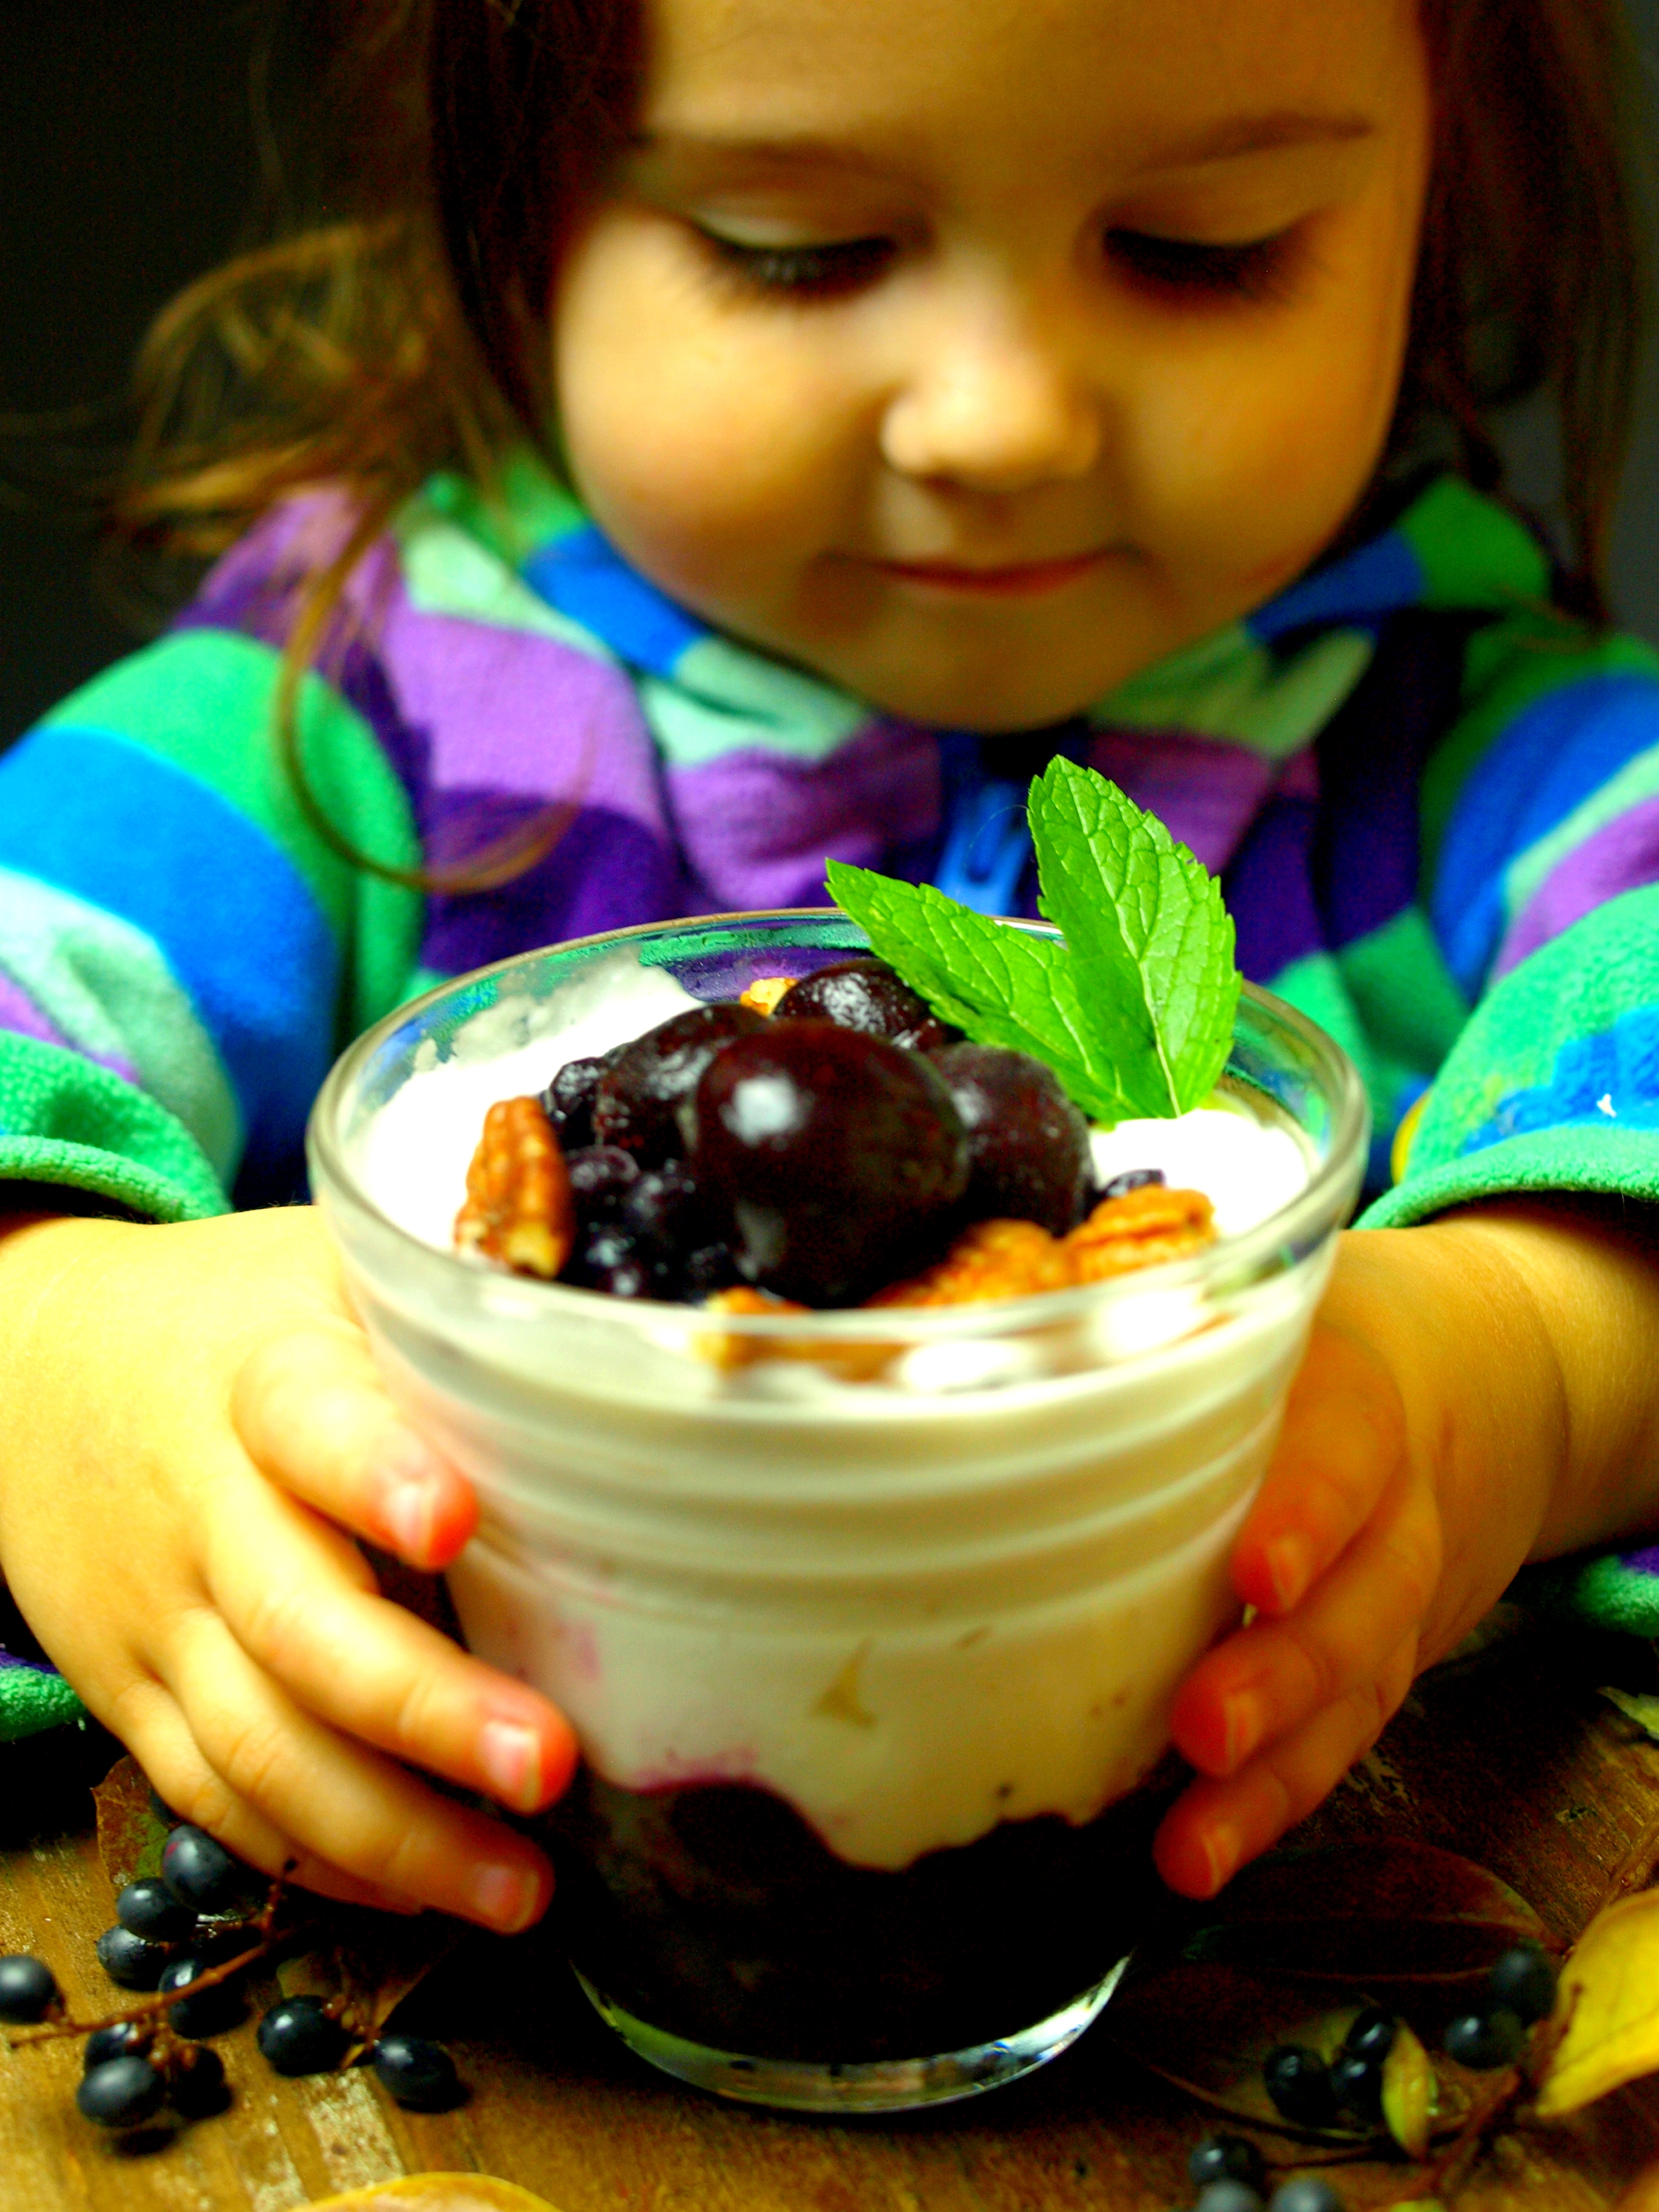
I love dairy-free yogurt. Especially with fruit. Especially with fruit all layered up in a parfait. Yum, yum, yum. It’s creamy, tangy, and comforting. Plus it’s super healthy for you and is loaded with immune boosting and gut flora flourishing probiotics. Right?
Well, maybe. Many conventional yogurts, both dairy and dairy-free, have plenty of added sugar. They also may contain artificial flavors, colors, and other additives, many of which are derived from gmo ingredients, or ingredients treated with herbicides and pesticides. Non-organic yogurts may contain growth hormone drugs, which studies have linked to cancer. Reading the labels can be a bit of an eye opener. That strawberry banana yogurt? Yeah, it contains no real fruit. The probiotic claims on most yogurts? Those are probably exaggerated. In fact, there may not be any active cultures by the time you eat it. Buying higher quality organic dairy-free yogurt seems like the answer, but those often have additives as well.
 So what’s a yogurt loving mama and daughter to do? I decided it was time I learned to make my own. My first several attempts did not go so well. I started out by making easy coconut milk from shredded coconut, then heating the milk to exactly 110 degrees (using a food thermometer), mixing in the probiotics, wrapping up my container and letting it ferment in the oven with just the oven light on. If it sounds like a hassle, that’s because it was. I think some fermentation happened, but the taste and consistency were not quite like yogurt. It needed a thickener. So that led to more research on thickeners and how to improve the texture. After trying a few different options, I finally gave up. Healthy yogurt free of nasty additives just didn’t seem to be happening. I considered buying a yogurt maker and ordering a dairy free yogurt starter. Then I discovered the easiest, quickest, no thickener, no cooking, no machine required method for making the most creamy and thick dairy free yogurt.
This method is so simple! I’ve made it about 5 times now and each time I have ended up with perfect, greek-style, coconut yogurt. I even find that it doesn’t require any sweetener at all. The only challenge to making the yogurt is finding the young coconuts to purchase. Depending on where you live, this may be difficult. I was finally able to find young coconuts at our local health food. Before that I was getting them from my mom, which is ironic because she lives in a town about 1/5 of the size of ours. So you just might be surprised and find them easily. Some larger, organic markets might also carry coconut meat in the freezer.
The second challenge, and it really isn’t much of a challenge, is opening up your coconut. Young coconuts, which are white in color, are so much easier to open than the fuzzy brown coconuts. (Those fuzzy brown ones will not work in this recipe by the way). You’ll need a large, sharp knife. I will admit, my knife is not that sharp, but don’t be like me, use a sharp one. Basically you are shucking off the top part of the coconut and then using the bottom edge/corner of the blade to strike into it, until you’ve cut a circle and can pop the lid off. It takes just a few minutes, and if wimpy ol’ knife-o-phobic me can do it, so can you!
The rest of the yogurt making is super easy. You don’t need a high-speed blender, a regular blender will work. I like to use Solar Ray Multidophilus Powder, which is dairy free and requires refrigeration (which is a sign of a good probiotic). Capsules will work too, just open them up and pour out the powder. Some folks use a few tablespoons of yogurt as their starter, but I’ve never tried that, so I can’t say how it works.
I hope you love this rich, tangy yogurt as much as we do! You just might never want to go back to buying store-bought, and with yogurt-making this easy, you don’t have to.
Gather Your Ingredients
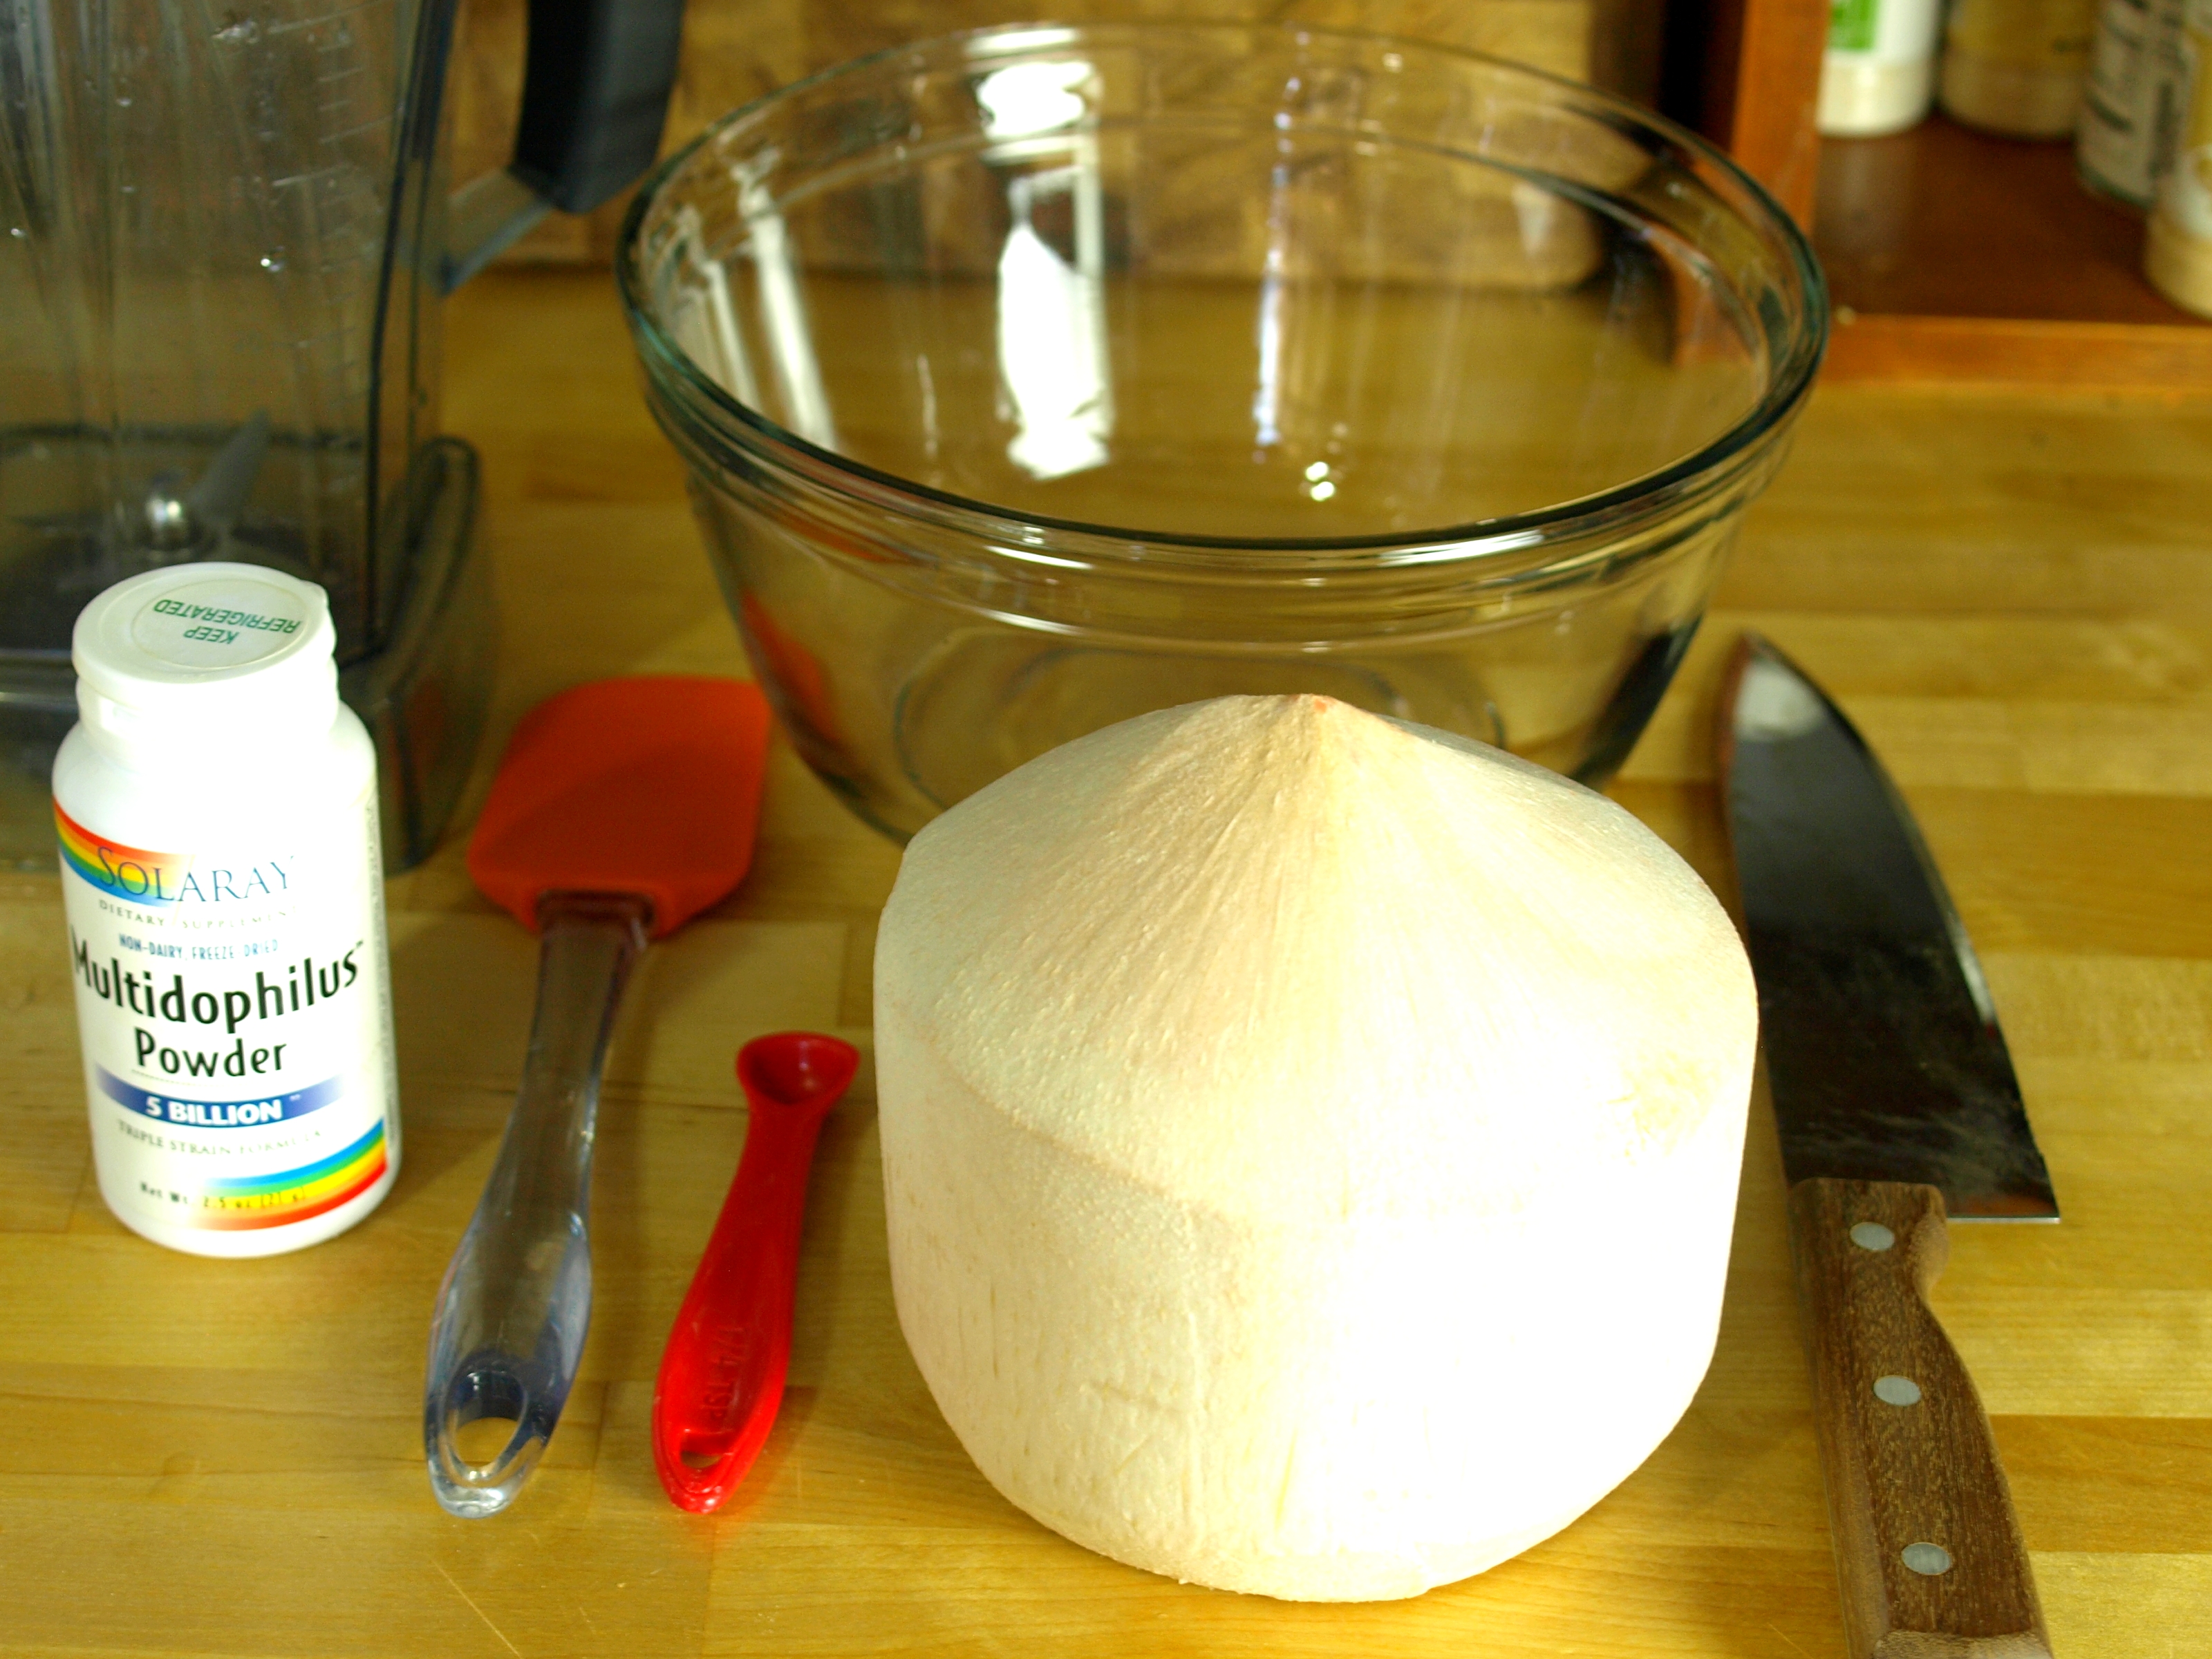
You’ll probably want to use 2-3 coconuts, probiotic powder, a large knife, a glass bowl, a non-metal spoon or spatula, a metal spoon for scraping out the meat, and another container to hold the coconut water.
Open Your Coconut

Turn your coconut on its side. Always ALWAYS keep your fingers out of the way. Use the knife to slice/peel/shuck off the top portion of the coconut.
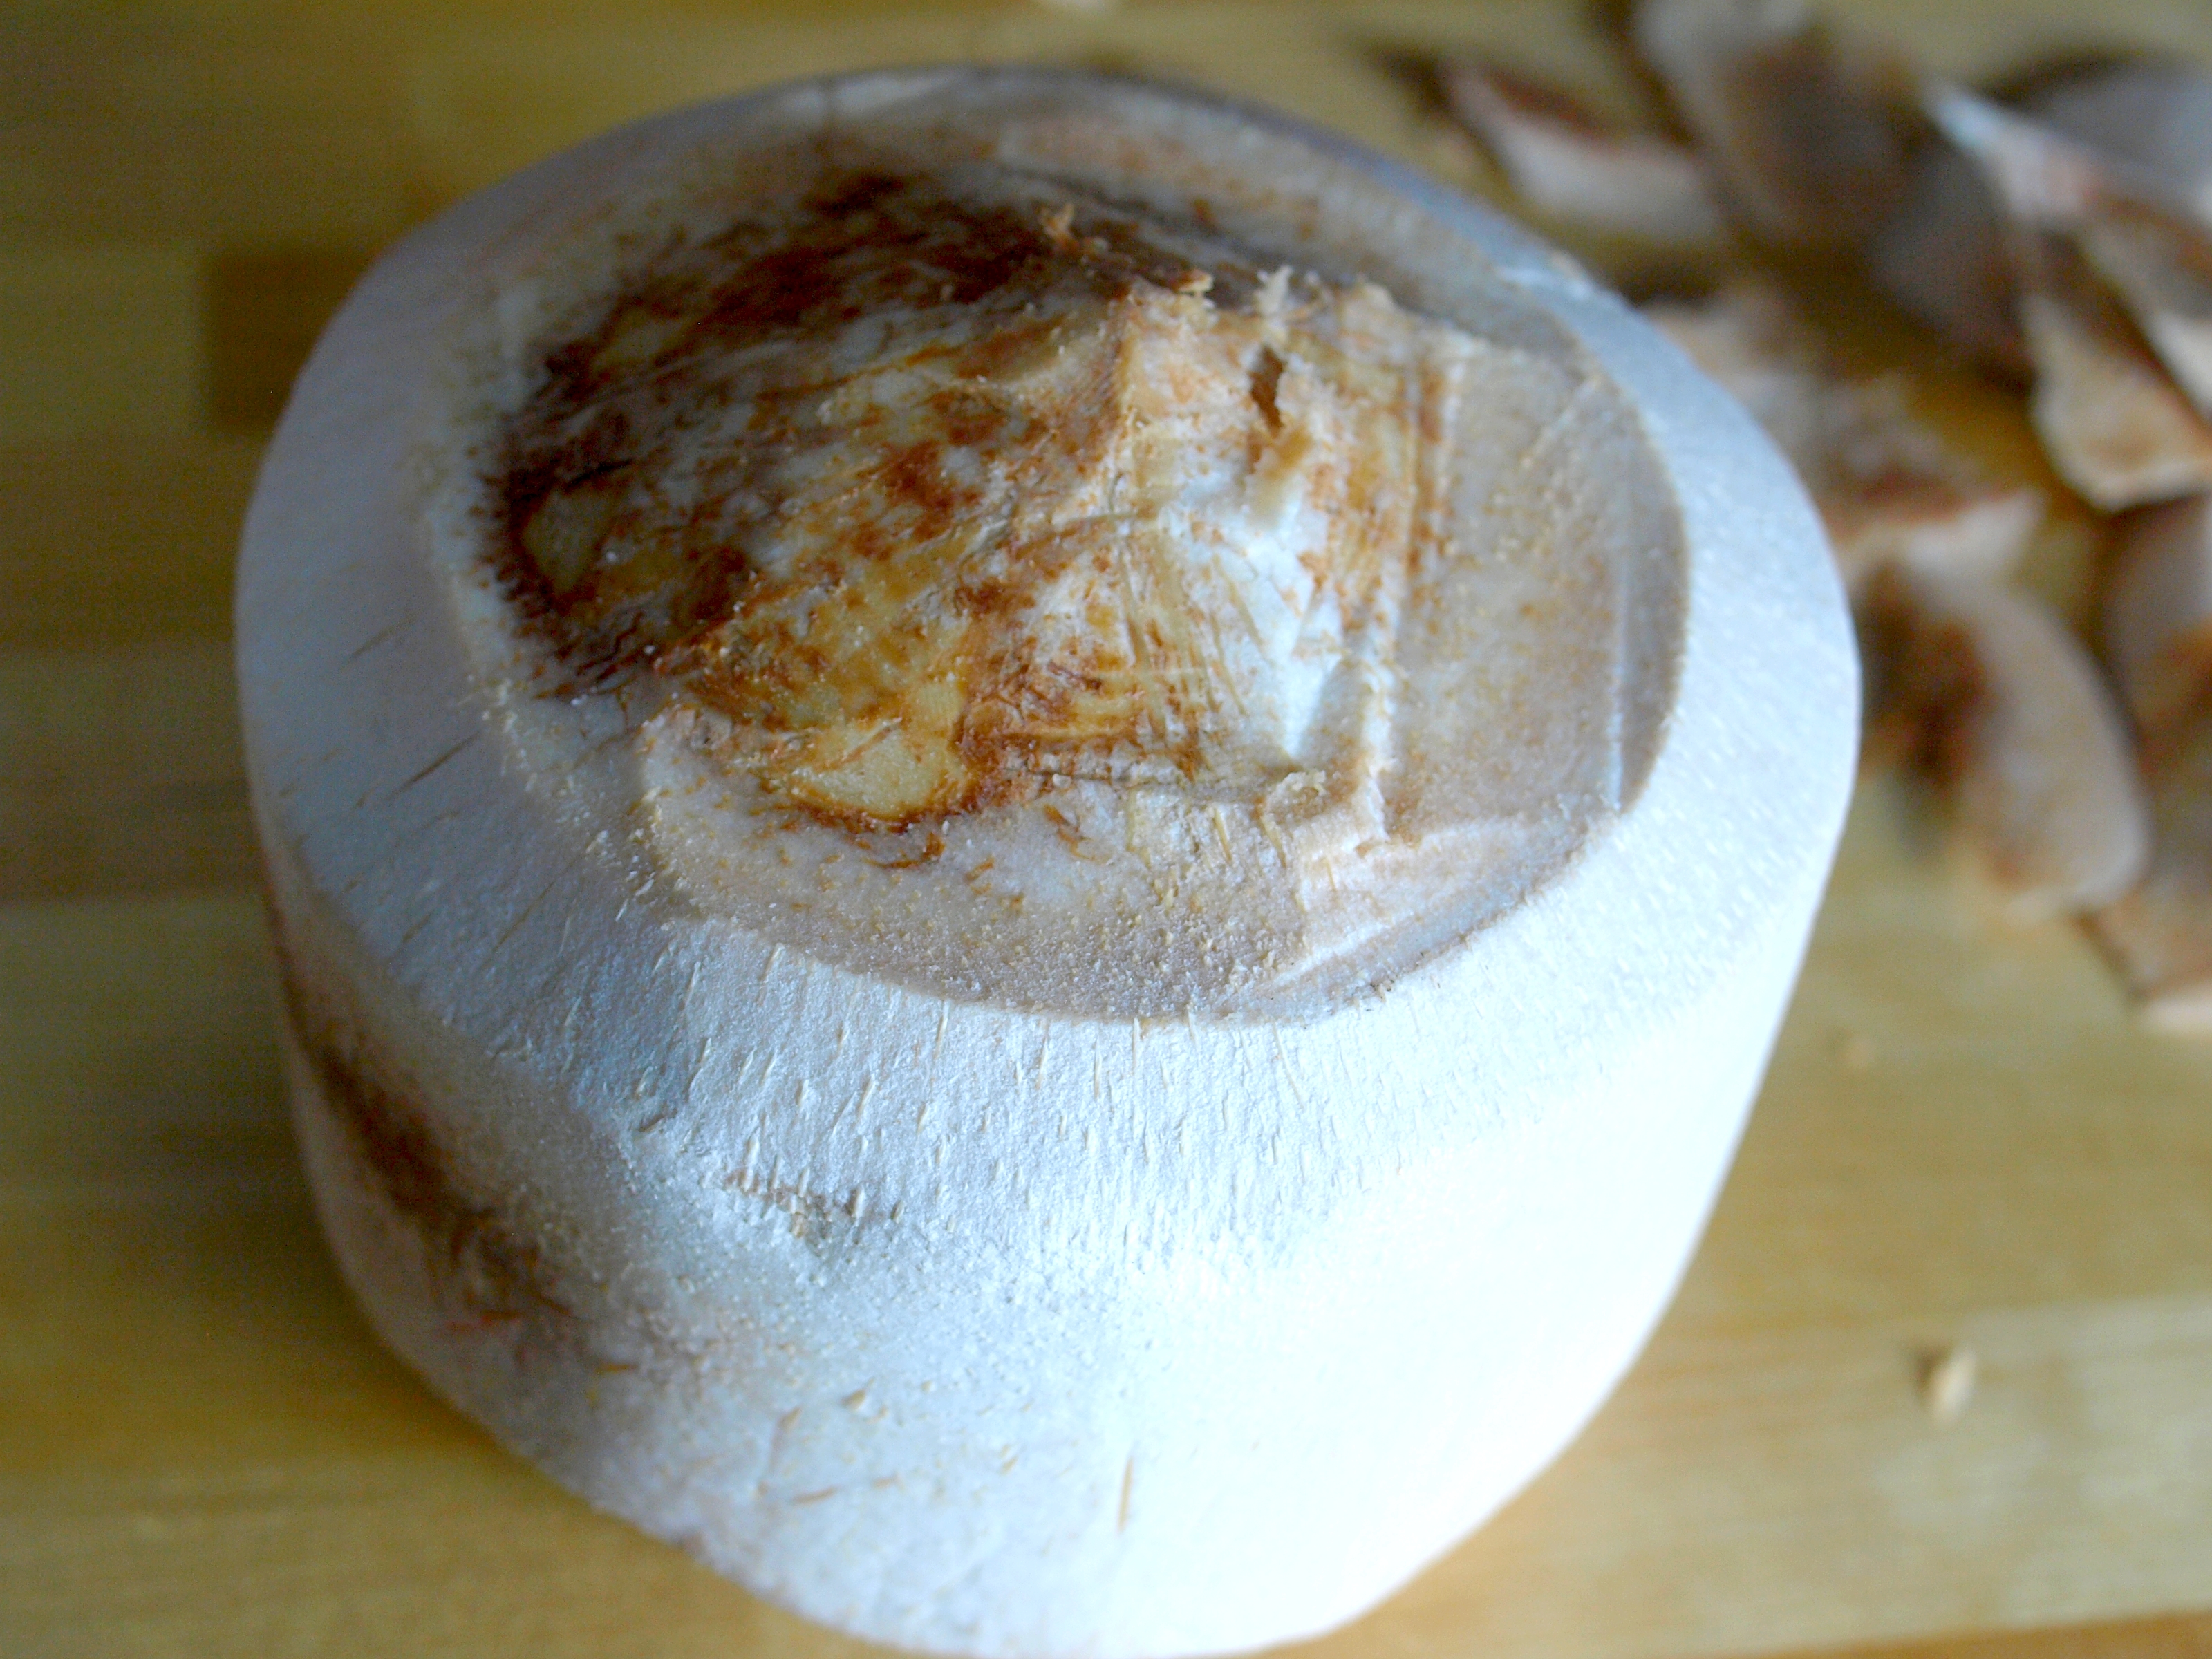
It should look like this.

Now, using the corner bottom edge of the knife, strike into the coconut. Remember to keep your hand and fingers out of the way. Raise the knife a few inches and then strike it down, making cuts all around the top like so.

Open up the coconut. Pour out the coconut water into a container. Coconut water is a great hydrater! Drink it straight or use it in smoothies.

Use the back of metal spoon to scrape the coconut meat from the top, as well as the inside of the coconut. Some of the “bark” will come off too. Carefully peel off the hard pieces, and as much of the brown “bark” that you can.
Make Your Yogurt
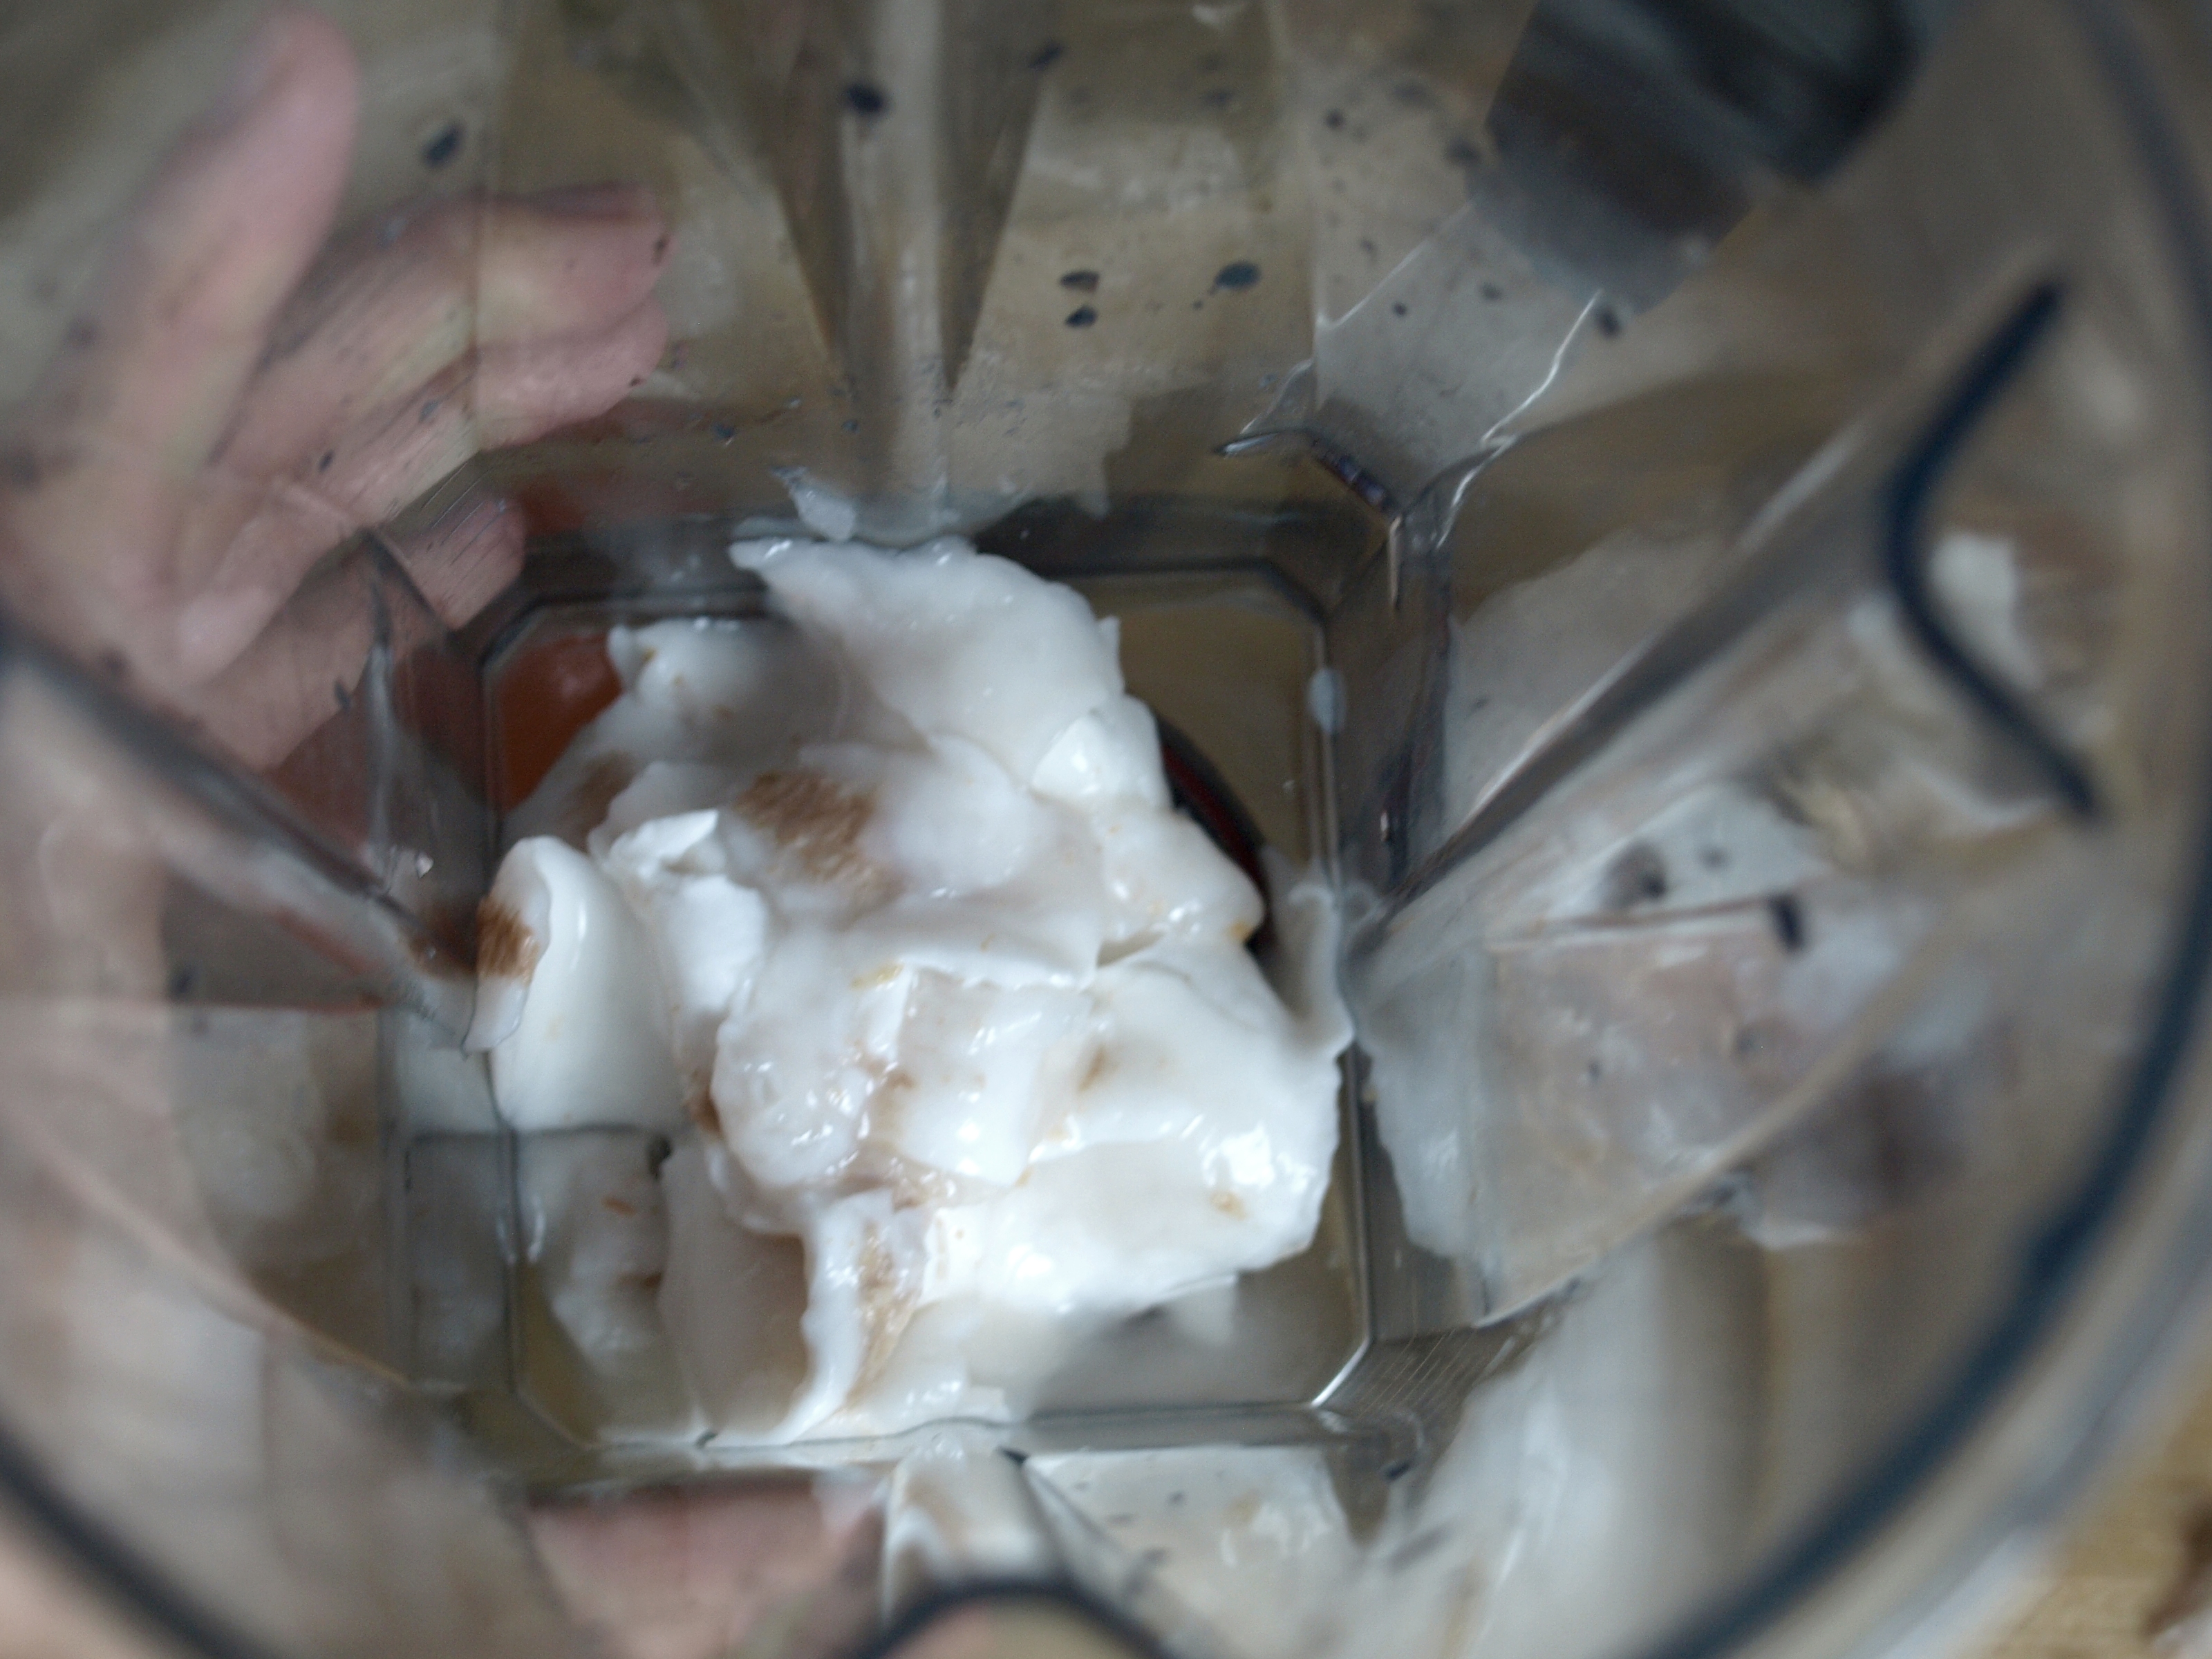
As you clean off the coconut meat, add it to the blender. You’ll notice I didn’t get every last bit of the “bark” removed, but it is fine as long as it isn’t hard crunchy pieces. It will blend up. Now, add about 1/4 – 1/2 cup reserved coconut water. Blend on high until smooth and thick.
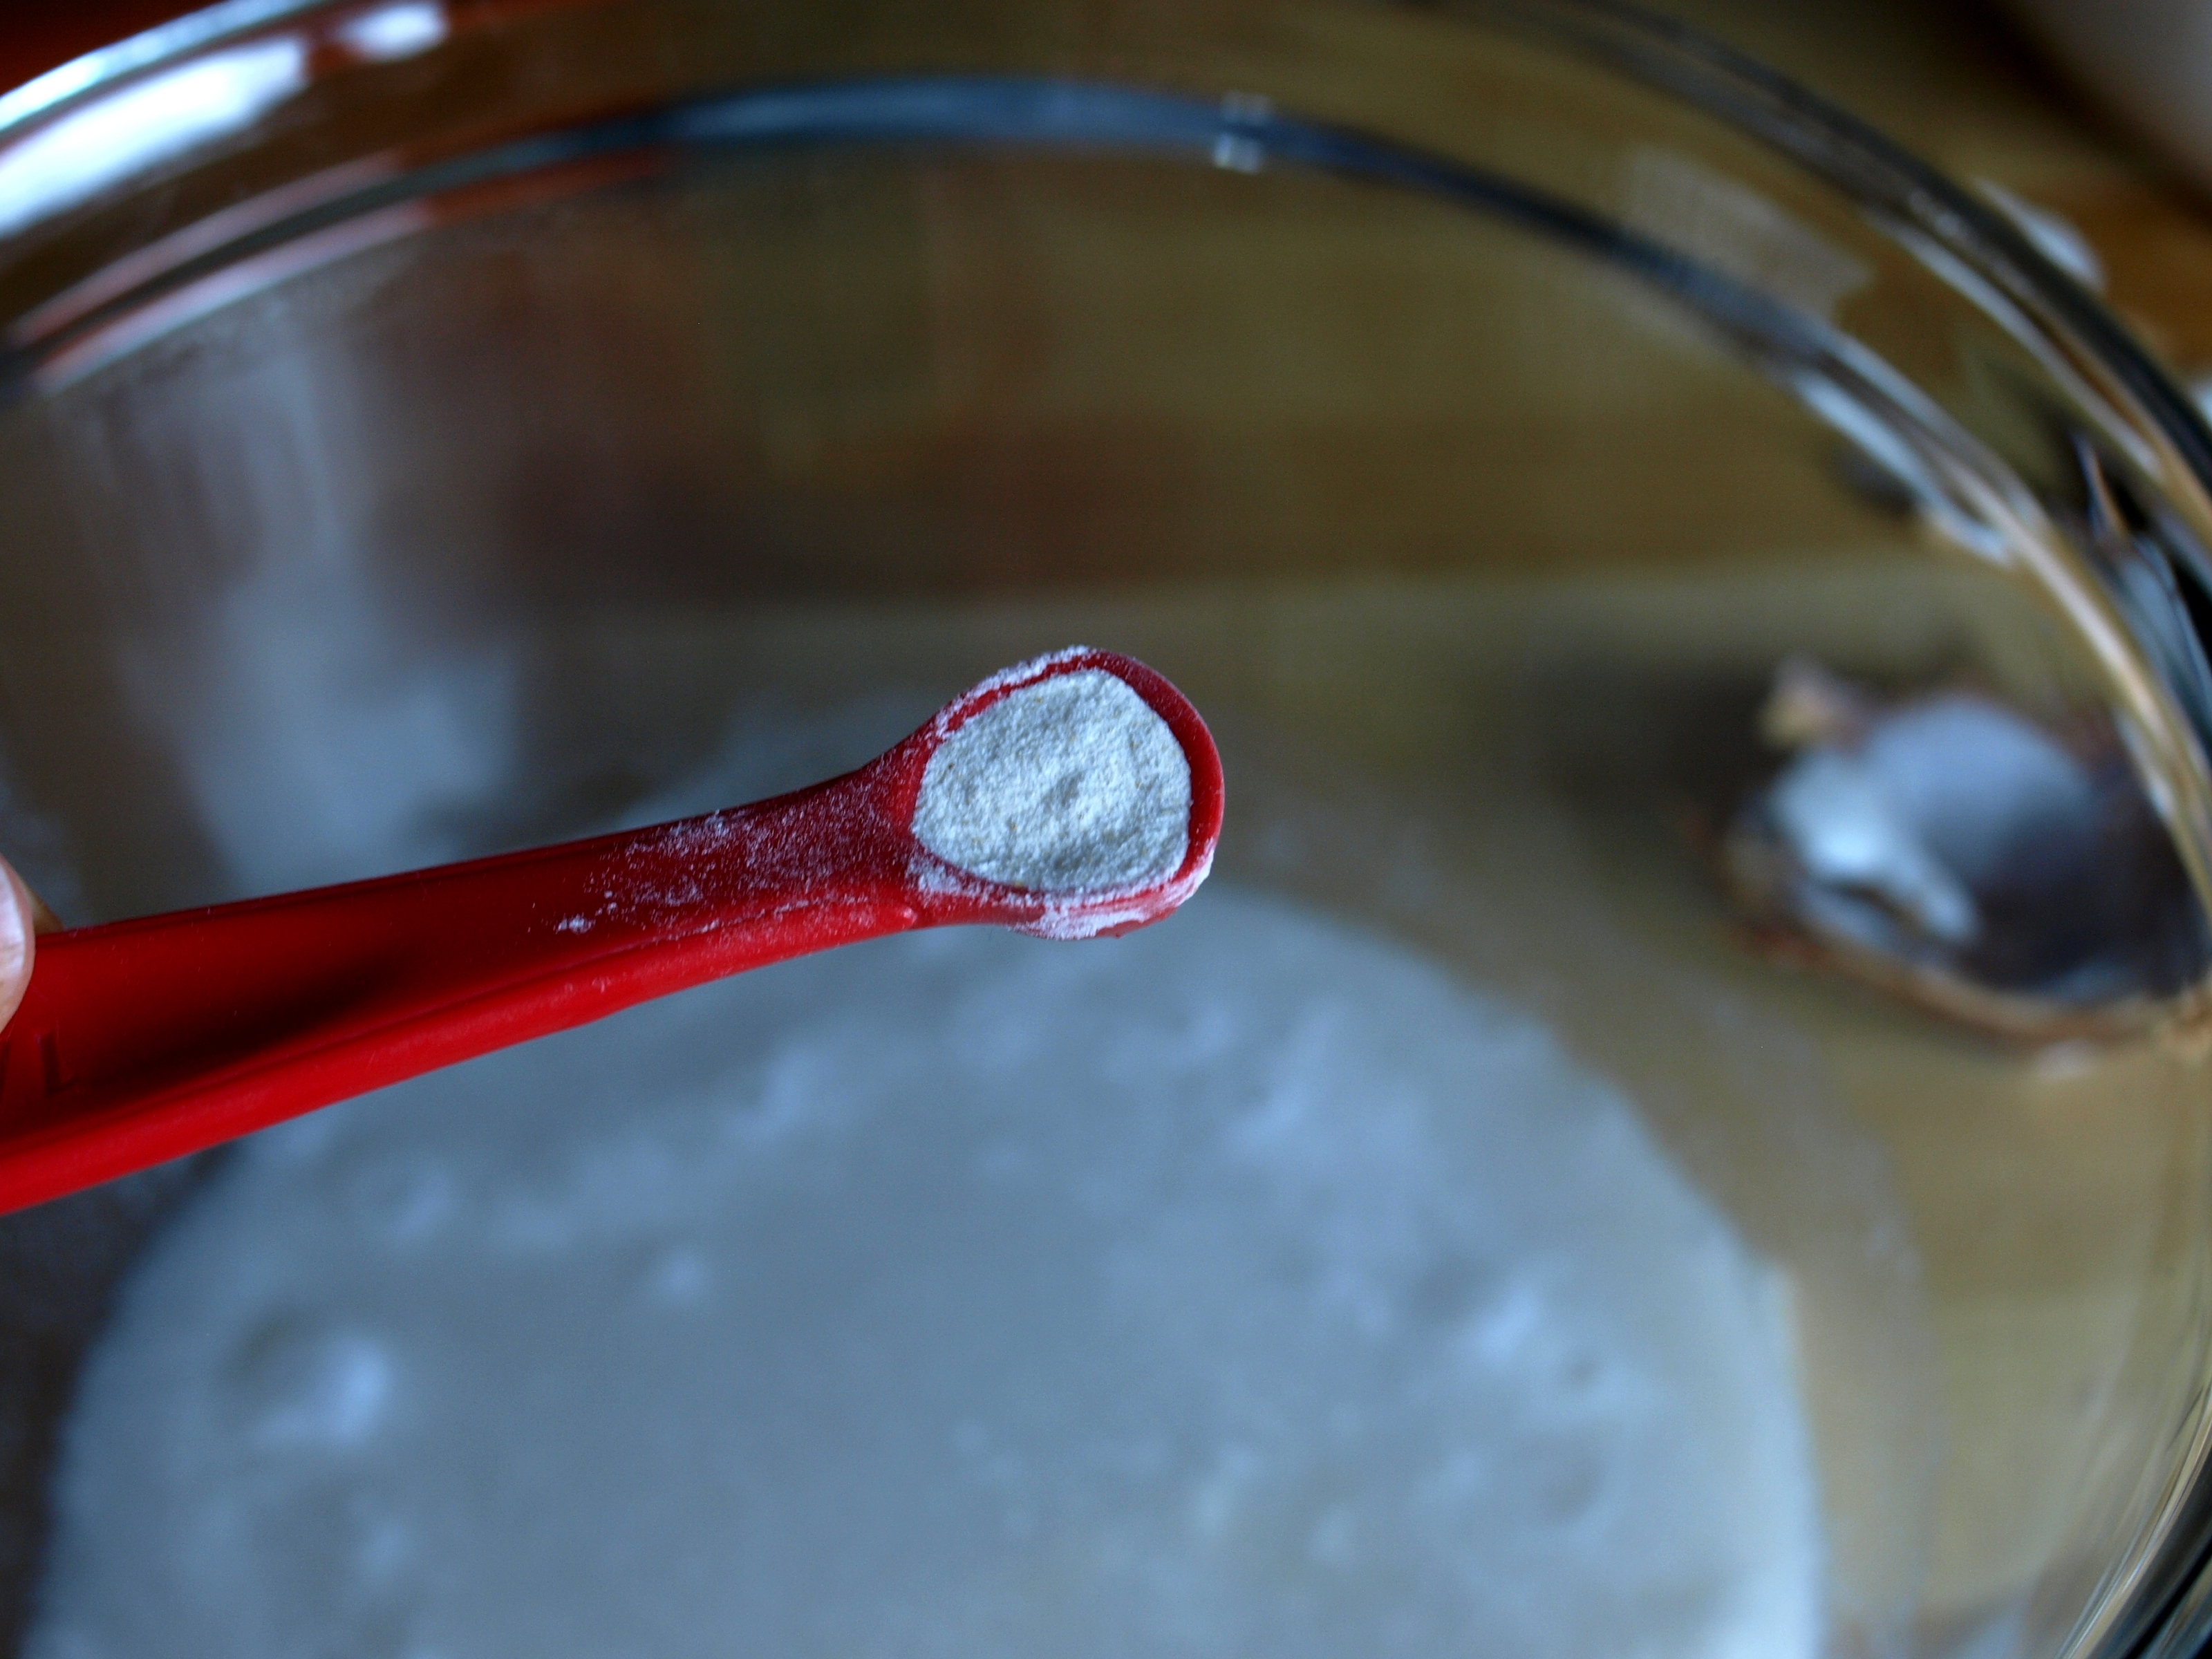
Pour into a glass bowl and stir in about 1/4 tsp of probiotic powder or about 2 capsules, with a non-metal spoon. Cover the bowl and place in a dark cupboard or other non drafty place and let it ferment for about 12-24 hours. I check after 12 hours, dipping in a clean spoon and tasting for tanginess. Store in the fridge. It will become thick and more tangy in the fridge.

Enjoy plain or with fruit or granola, or in smoothies!
Easy Homemade Coconut Yogurt
Ingredients:
2 – 3 Thai Young Coconuts
1/4 tsp high quality probiotic
reserved coconut water from the inside of your coconuts
Instructions:
- Open your coconuts per instructions above and scrape out the coconut meat, cleaning off any “bark” residue. Place the coconut meat in your blender.
- Add about 1/4 – 1/2 cup coconut water. Blend on high until smooth. I usually blend a little longer to warm up the coconut meat and help it ferment faster.
- Pour into a glass bowl. Add 1/4 tsp of probiotic powder and stir it in very well with a non-metal spoon. Cover with a towel, sometimes I even wrap it in a towel if it’s chilly in the house, and place in a dark cupboard or other non-drafty place. Wait about 12 hours and taste for tangy-ness.
- If it’s tangy and tastes like yogurt, place it in the fridge, where it will thicken even more. If you’d like it more tangy, wait another 6 hours and try again. I usually let it culture for a full 24 hours. Make sure to store in the fridge.

Thank you for sharing your recipe….I will definitely try this….
LikeLiked by 1 person
Great France, so excited to hear that! Please do let me know how it goes!
LikeLiked by 1 person
LOVE this!!!! I’ve been seeing people making yogurt but never ventured in to it myself. Once again you show me how easily happiness in my mouth can be achieved!!! My kids love yogurt I just never buy it for the same reasons as you. The will be thrilled when I make this!!
LikeLiked by 1 person
Aww haha you are too kind! I am so excited for you to try it 😀 It’s the least fussy yogurt making method I’ve been able to find yet! You have to let me know how you and your kiddos like it!
LikeLiked by 1 person
I made it!! Soooo easy and tasty!! I don’t know why I’ve waited so long, it’s been in my kitchen to go list for ages! I guess I just needed to see another fellow blogger/mother/health nut’s success with it to encourage me 😊 I will be blogging about it too!
LikeLiked by 1 person
Yay! So glad you gave it a try and liked it!! Better than store-bought yogurt, right? Definitely better for us! Can’t wait to read your post/take on it. 🙂
LikeLiked by 1 person
So much better!! And comparative in pricing too.
LikeLiked by 1 person
Could you make this with coconut milk or cream rather than meat from fresh coconuts?
LikeLiked by 1 person
Yes, it can be done! When I started experimenting with homemade coconut yogurt I tried it with coconut milk, however it gets complicated because it has to be warmed up to the right temperature and a thickener has to be added. It really works best with a yogurt maker. I didn’t have much luck with it, it was always so thin and not like the thick yogurt I love. I think the coconut cream would be a better substitute, although you’ll have a very rich yogurt when it’s done. I’ve been curious to try this myself, but haven’t yet. Would love to know if you do!
LikeLike